I recently reopened my Tindie store, see http://blog.tynemouthsoftware.co.uk/2024/10/a-change-of-plan.html
Before I did that, I was running low on stock on most things, so I needed to order more boards.
Since I was doing that, I thought it would be a good opportunity to make a few changes.
This is the new Minstrel 2, a Z80 based self assembly computer kit which is compatible with the Sinclair ZX80.
This is now a single PCB "Minstrel 2 + Keyboard" version.
Although it is still available without the keyboard to fit a ZX81 case.
And I suppose I should keep the "dual detachable keyboard" version as well.
I will offer built version, but most people want to build their own kits.
I forget how many single resistors there are in the ZX80 design.
It doesn't look too bad when they are all in little bags.
Assembly is straightforward, start with the smaller parts, the resistors, capacitors and diodes.
These should all be neatly in line.
I have used a different brand for some of the capacitors, these have a much clearer marking, see the 104 and 473. They do not currently have all the values, so those are still the older style (e.g. K16 470J).
The ICs should all line up nicely as well. I love the way the Texas Instruments 14 and 16 pin ICs are the same width, so you can mix them and they all look the same (can you spot where it changes?).
Next all the taller parts, the connectors and pin headers.
I added two footprints for the 5V regulator on the V2.9 version of the main PCB. The switching regulator is recommended, and is set back a little to fit better in a ZX81 case.
The 7805 linear regulator can be used, but will require a small heatsink (I should have removed it from the "+Keyboard" version as there isn't space to fit one where it would be in the "for ZX81 case" version.)
Finally, the three big chips in sockets, including one of the last Z80s ever made (while stocks last).
To protect them in transit (and so I don't need to count to 40 lots of times), the switches are supplied inserted into the PCB.
If you think they will get in the way, you might want to remove those until you have finished the rest of the soldering.
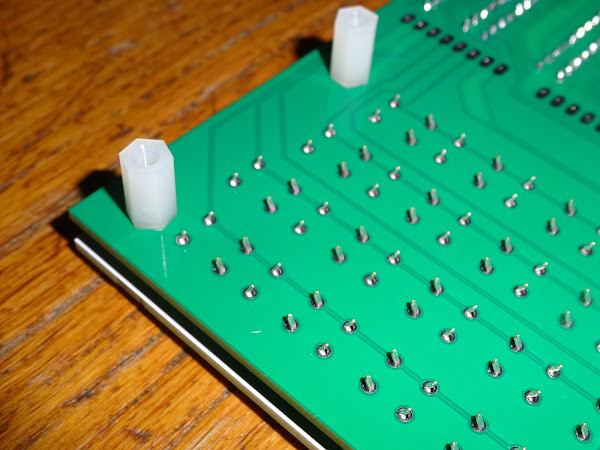
If you fit the screws and spacers to the overlay PCB, it is useful to make sure all the switches are sitting flat and correctly aligned.
You can then screw on the pillars and solder the switches in place.
(N.B. you don't actually have to solder the switches in place, they will work just on the mechanical connection, certainly for testing. However, long term the legs can tarnish over time and you might start to get an intermittent connection. It is also more difficult to solder later if they have tarnished)
Time for some testing.
The traditional 10 PRINT.
And also in 4K BASIC mode (note the different font with no slash in the zero).
Also time to try some games.
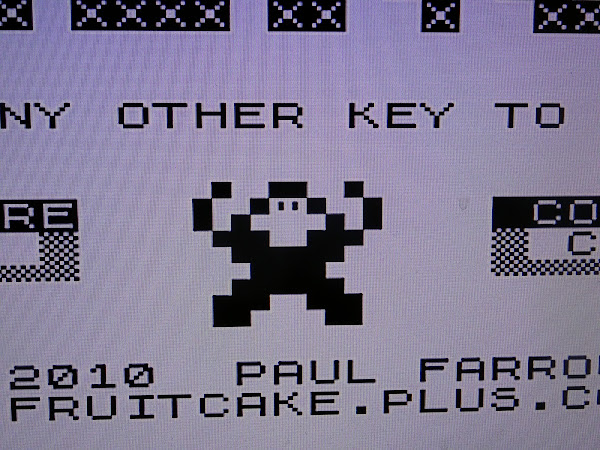
Paul Farrow's ZX81 Kong is a good test as this runs on the ZX80 style hardware of the Minstrel 2, and shows off the changes in the last Minstrel 2 update to clean up the glitches around adjacent inverted and non-inverted characters, which showed up on the Kong in the title screen.
All nice and clean and evenly sized pixels.
The cost of some parts have increased dramatically, but I have tried to keep the pricing as it was before.
And there are an awful lot of them to add up.
And of course the Z80's, they must be worth $1M each by now.
I am in the process of revisiting the documentation for the Minstrel 2 and 3. With the Minstrel 2 in particular being expanded quite a bit with a new "theory of operation" section along the lines of the one in the Minstrel 3.
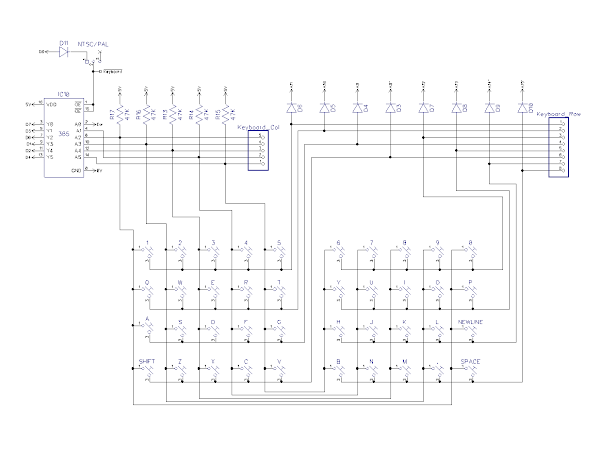
I also want to have a go at redrawing the schematic as a single large page in the style of the original, although I am not sure how that will go. I might end up selling that as a poster instead.
Advertisements
Minstrel 2 and 3 kits are available from my Tindie store, with worldwide shipping. Versions avaiable for ZX81 case or standalone with keyboard, and also Misntrel 3 with ZXpand microSD card interface.
I will slowly be moving things over there from my SellMyRetro store, so if there is anything that you want, let me know and I'll add it.
More info can be found here:
Patreon
You can support me via Patreon, and get access to advance previews of posts like this and behind the scenes updates. These are often in more detail than I can fit in here, and some of these posts contain bits from several Patreon posts. This also includes access to my Patreon only Discord server for even more regular updates.


