Friday, 8 April 2022

Amiga 500 USB keyboard and dual joystick and the A500 Mini

It had to be done, didn't it.

This is an Amiga 500 case and keyboard, fitted with one of my Amiga 500 USB keyboard and dual joystick controller boards.

They are designed to allow the keyboard to be used as a USB keyboard with a modern PC or Raspberry Pi etc., and also provide two 9 way D joystick ports that act as USB game controllers. (no support for Amiga mice or another other than Atari / Commodore 9 way D joysticks). Handy if your Amiga 500+ board has been ruined by Varta juice.

It's not the nicest of Amiga cases and a very yellowed keyboard, but it does the job. All of my nicer Amiga 500 cases have Amiga 500s in them.

In the past I have built these with a Raspberry Pi inside. Someone even designed a 3D printed mounting kit to install a Raspberry Pi very neatly (and reversibly) in an Amiga 500 case.

Today we see the launch of the A500 Mini, an Amiga 500 emulator in a small Amiga 500 style case.

The keyboard is fake, all moulded in a single piece, but it will support a USB keyboard, so lets see what we can do with it.

1) The easiest option

Just keep the A500 mini outside the case and use the external connection version of the Amiga 500 USB keyboard / joystick board.

The keyboard works, but it seems USB game controllers are not supported on the A500 Mini - maybe in a future revision of the A500 Mini firmware?

This is the "Amiga 500 Keyboard with dual joystick - external USB connection" version.

2) Loopback

This also uses the external connection version, but has the A500 mini inside the case with a short USB cable looping back

The connectors all line up within the spaces for the parallel and serial ports.

It would probably sit better with the case of the A500 mini removed.

There are a lot of wires already with the mouse and game controller, power and HMDI, so you don't really notice the loopback USB cable.

3) A neater solution

This involves extending the cables of the A500 mini to external connectors. Here I have adapted the 3D printed mounting set. This gives external power, 2x USB and HMDI. The keyboard / joystick controller connects to the third USB port inside the case, so there is no loopback required.

This is the "Amiga 500 Keyboard with dual joystick - internal USB connection" version.

Ideally I would have changed the power for an external USB C connection, but I went for the easier option of using a USB C to micro USB adapter.

The A500 Mini is now hidden under the keyboard, but it all fits.

4) With audio passthrough

There is a third version of the USB keyboard adapter, which provides two phono jacks where the original audio out jacks were. These are connected through to an internal 3.5mm jack. That is ideal for passing out the audio from a Raspberry Pi etc. There is no headphone out on the A500 Mini, but if you needed audio, you may be able to add a USB sound card (if that is supported??)

This is the "Amiga 500 Keyboard with dual joystick - internal USB connection with audio passthrough" version.

Alternative Blog Post

Alternatively, maybe I can borrow the concept of DIY or buy?

DO you buy the A500 Mini?

OR do you buy an Amiga 500 + USB keyboard controller + Rapsberry Pi?

OR do you buy a Raspberry Pi 400?

It's £30 cheaper than the A500 Mini, includes a functioning keyboard and a power supply, but no game controller.

You can still use 9 way D joysticks with the Raspberry Pi 400, using one of my USB Joystick adapters.

Conclusion

I might follow this up with full review of the A500 Mini, or I might just keep on playing Lemmings.

or Stunt Car Racer.

Advertisements

All my USB keyboard controllers are available from my Tindie store in a single listing, just select the type you want from the dropdown:

All of the Minstrel kits and PET parts are also available there:

If you want more of this nonsense, you can support me on Patreon and follow along behind the scenes with new projects and advance previews of upcoming posts.

Saturday, 2 April 2022

The story of the Mini PET 40/80 Advanced Level Kit

This post is the story behind the post from April the first. If you haven't read that, then have a look at that first.

http://blog.tynemouthsoftware.co.uk/2022/04/mini-pet-4080-advanced-level-kit.html

It covered the "Advanced Level Mini PET 40/80 kits", which are sadly not real.

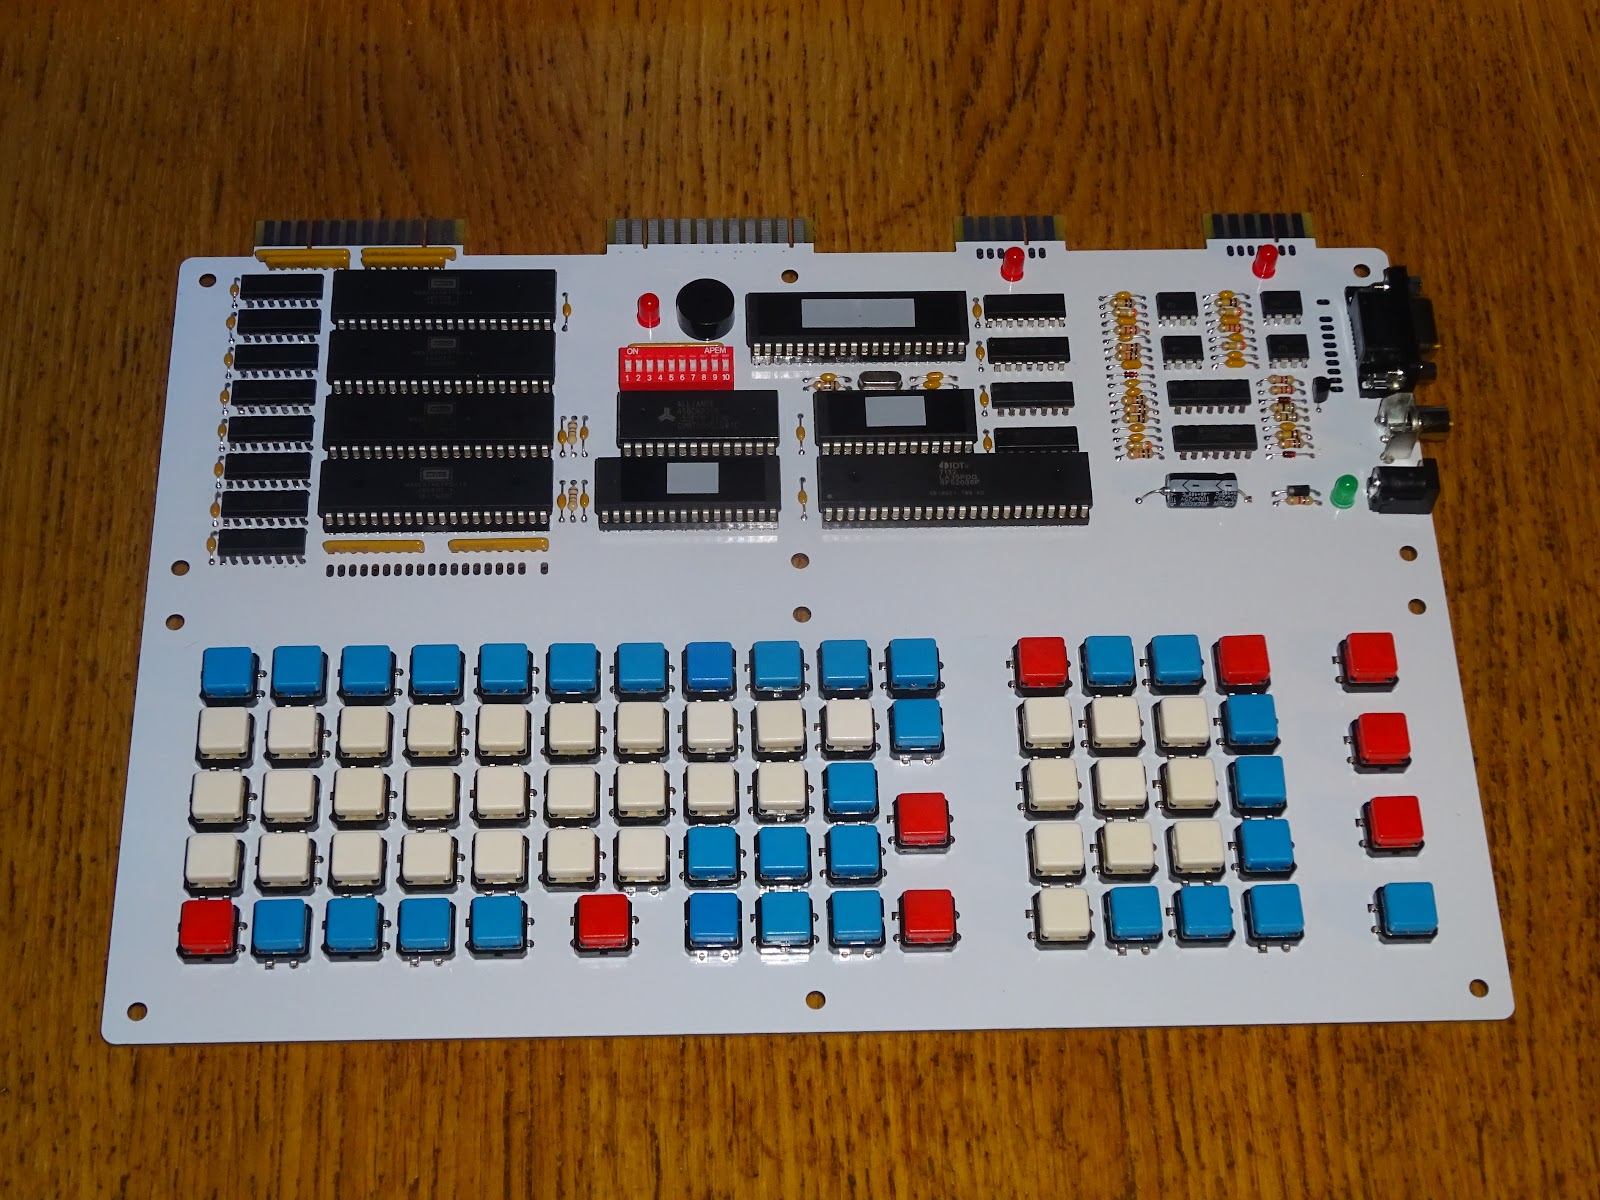
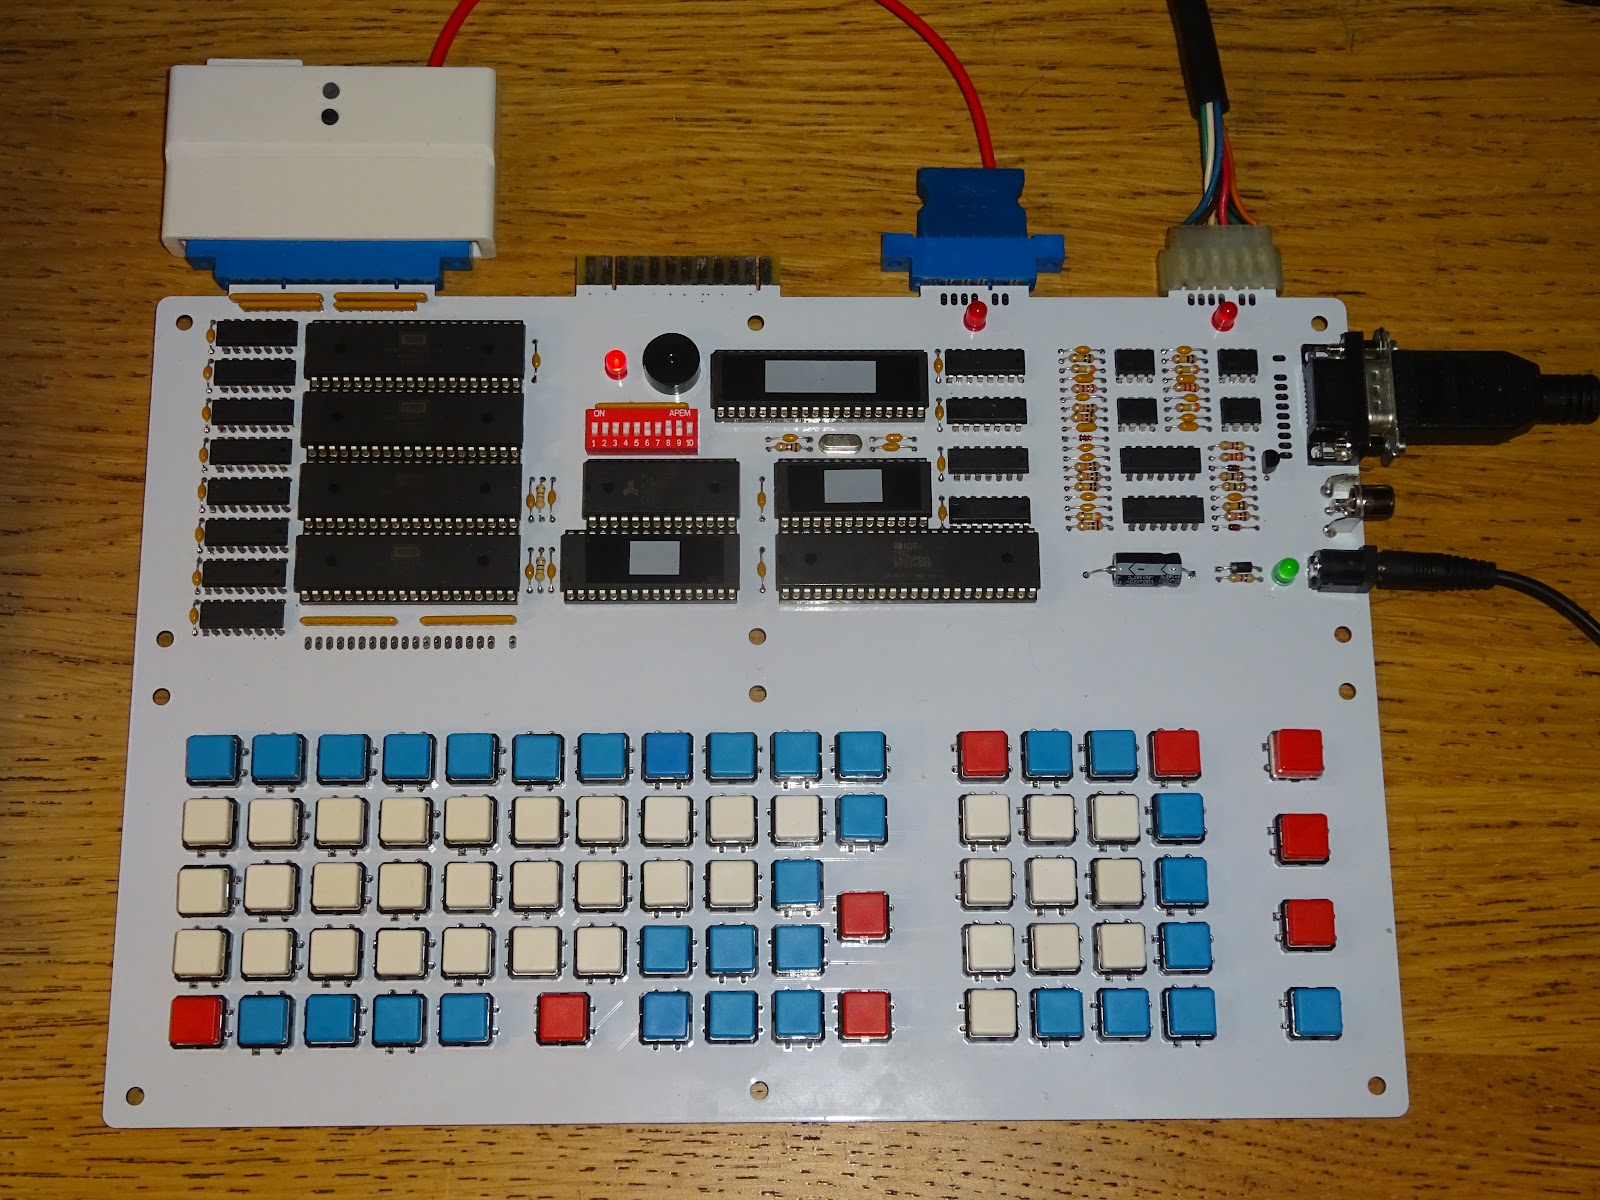
These came about in March 2021, when the Mini PET 40/80 was about to be launched. What was meant to be a preview of the final batch of boards was ordered. When they arrived, there was a slight problem, the PCB manufacturers had missed out the silkscreen on the top layer.

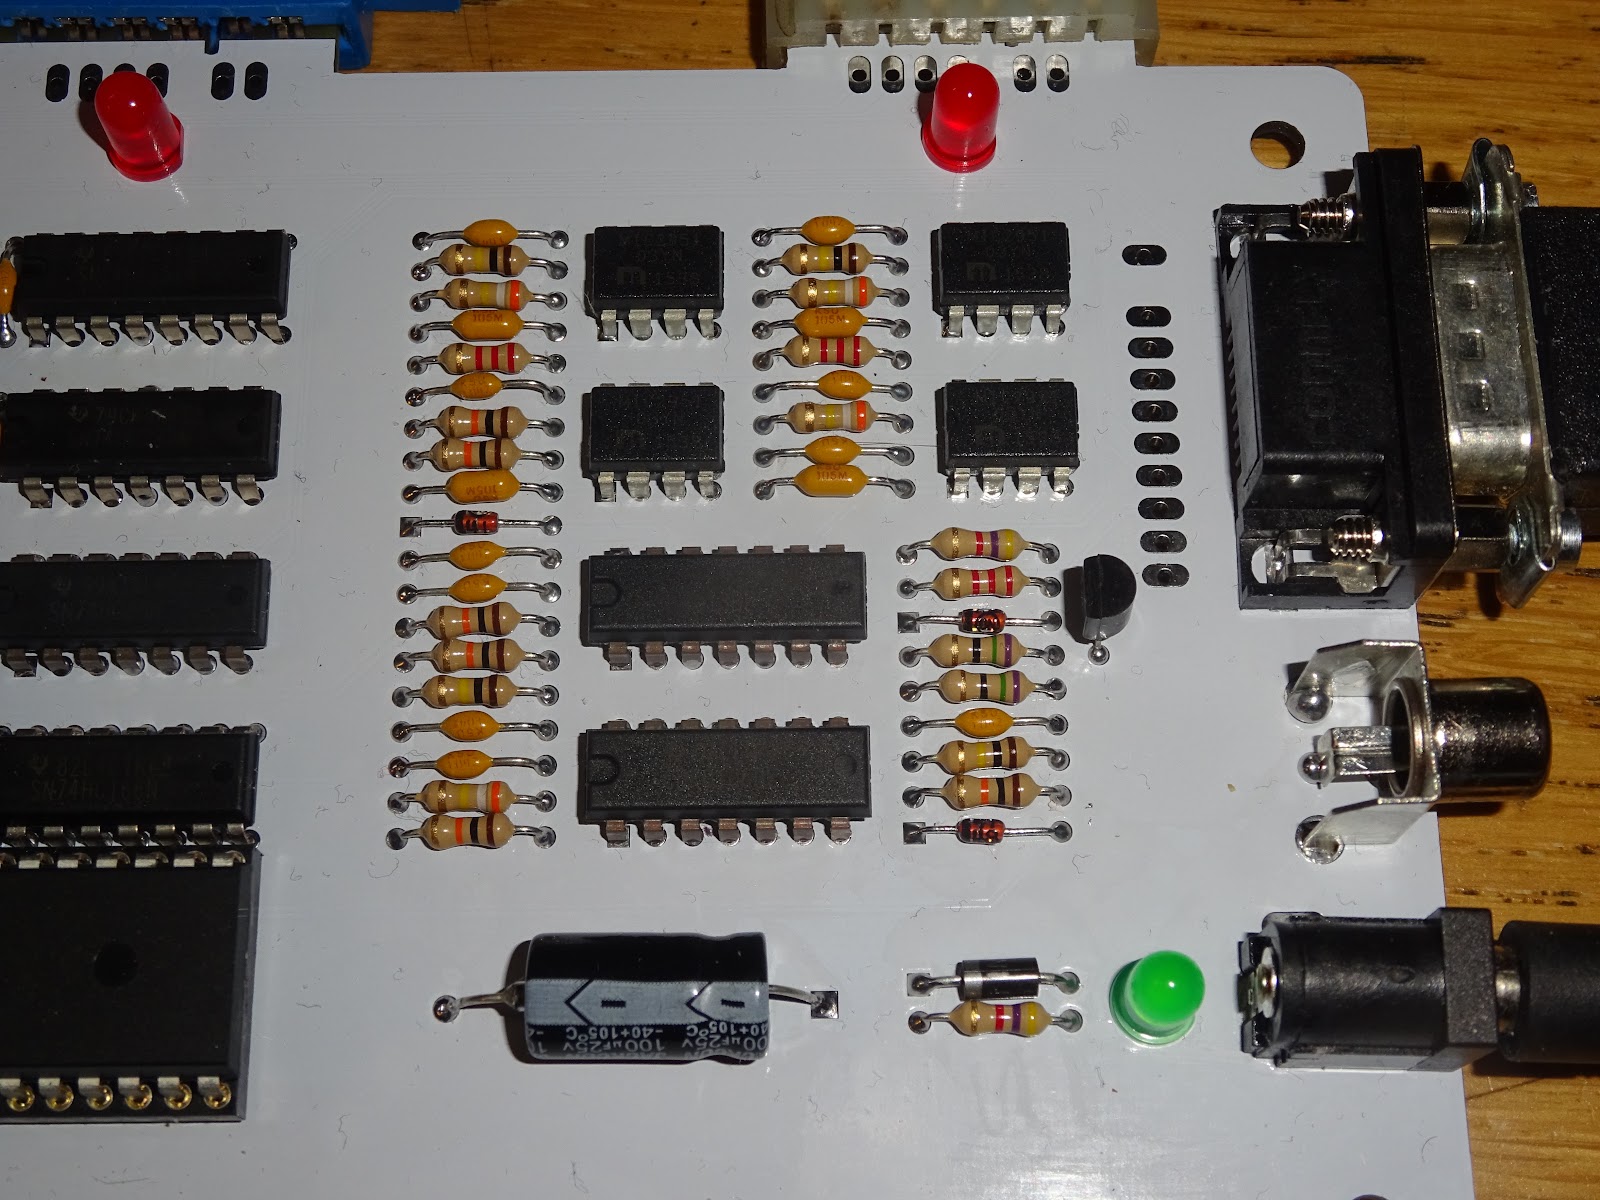
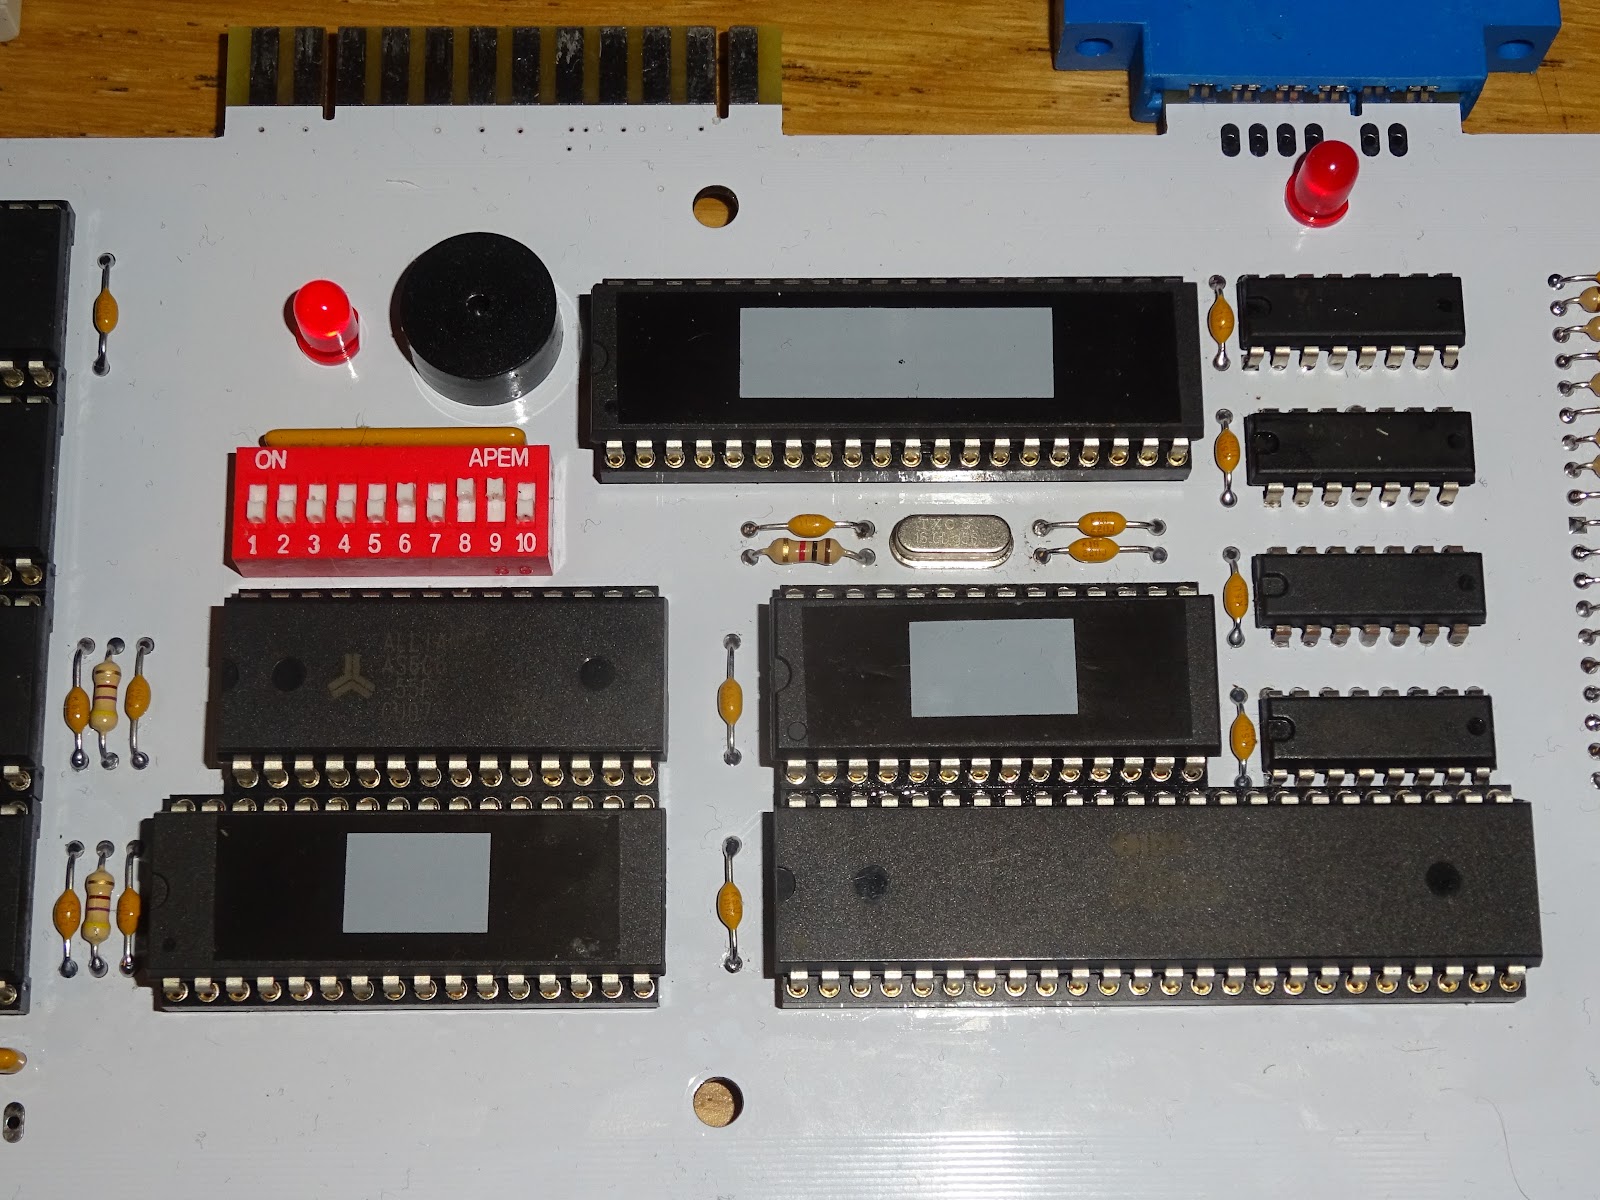
I had to build up one of the blank ones, just to test the changes to V1.82, which was an interesting challenge without the silkscreen. I could probably have built one of the old Mini PETs completely without it, but with all the new passive components I had to resort to the cheat sheet.


Those blank boards arrived not long after the previous "An update to my PCB software broke my gerber files" day, which resulted in keyboard overlays with no holes in.


And again around the same time as "Windows Update broke my printer" day, so I had lots of duff labels to use.


When life gives you lemons, make lemonade, so I built up the Stealth Mini PET. It was the end of March, so I thought I would delay the post until April 1st 2021.


I was offline at the time, so this only got shared with my Patreon supporters. I posted a lot of behind the scenes of the development of the Mini PETs and other projects, as well as other full posts. I am reposting a selection of those on this blog, usually revised and updated. I am continuing new posts and behind the scenes updates on Patreon.

https://www.patreon.com/tynemouthsoftware


Roll on 2022, and I thought I would dig out the pictures up again for an April the first blog post.


It does actually look rather nice, and several people commented that they liked it. I do have a pile of the no silk screen PCBs left if anyone really wants to build one.

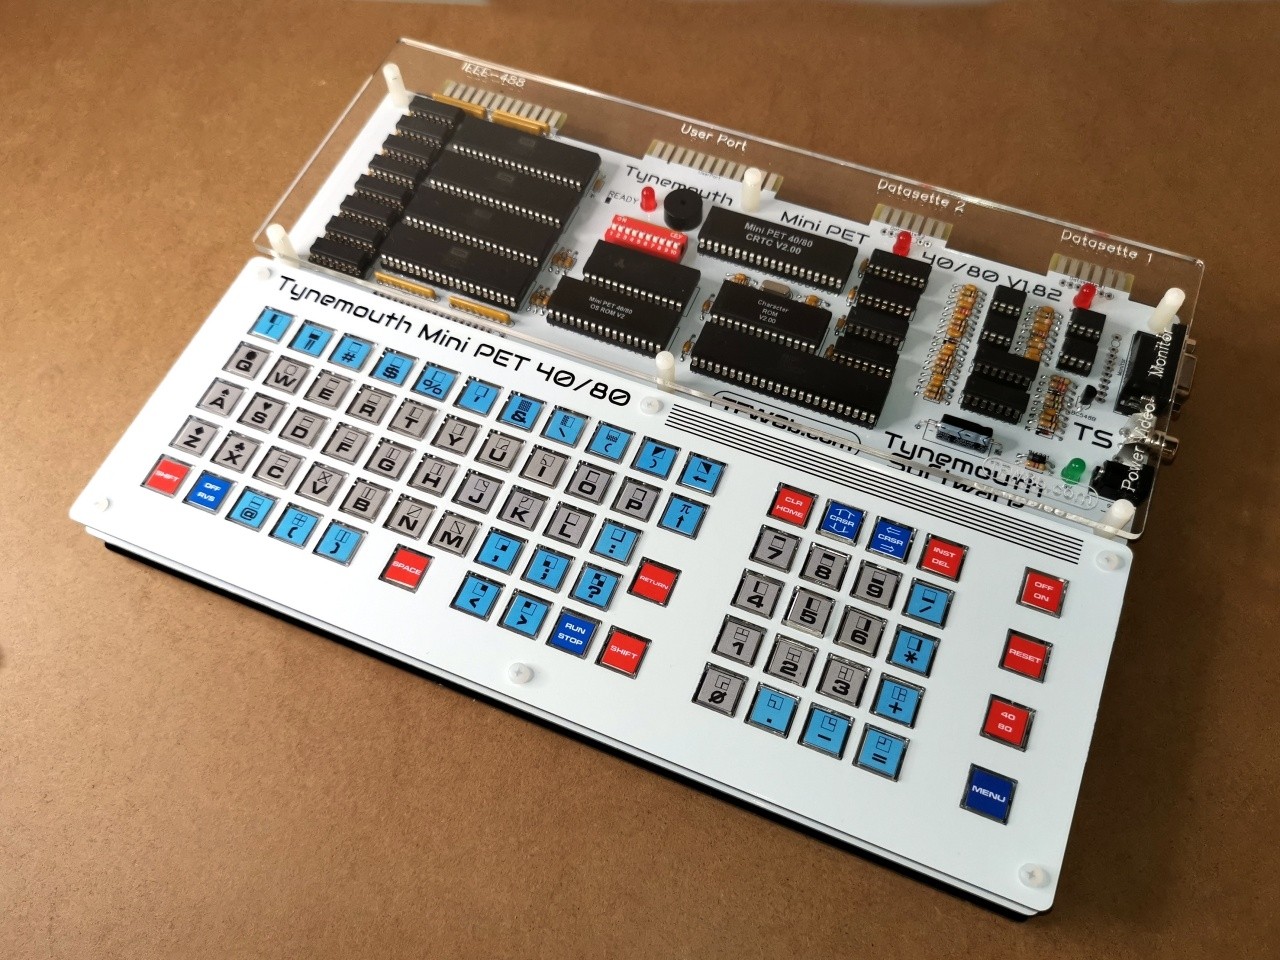
The real Mini PET 40/80 kits are still available from The Future Was 8 bit, although there aren't actually that many left, and I don't think we will be able to do any more.

https://www.thefuturewas8bit.com/shop/tynemouth-products.html


Friday, 1 April 2022

Mini PET 40/80 Advanced Level Kit

We have had a lot of feedback on the Mini PET 40/80 kits, everyone seems to like them, which is great. However, one issue keeps coming up, apparently the kits I make are too easy to assemble.


Introducing the Advanced Level kits. 


With these, I have tried to make things a bit more difficult, and have removed some of the helpful hints you used to get, like silkscreen component values.


Component placement is now more of a challenge, take all the parts provided, and attempt to arrange them into a working machine.


The boards aren't entirely blank of course, there is a model and version number on the back for reference.


Further hints will eventually be provided if no one manages to find the solution.


Also, we found that some people didn't like having to cut up the paper labels for the keyboard keys, so they have now been colour coded instead of using the labels.


Obviously, with a kit like this, detailed instructions would normally be required. The foremost technical authors of the land have provided such a manual.


They would be grateful if you could fill it in as you go.


So there you have it, the advanced difficultly level Mini PET 40/80 kit. 


Available now from www._____.com


Advertisements

The actual Mini PET 40/80 kits are all sold out, but there are some Mini PET 40/80D boards still available from TFW8b (whilst stocks last)

https://www.thefuturewas8bit.com/shop/tynemouth-products/minipet4080d.html


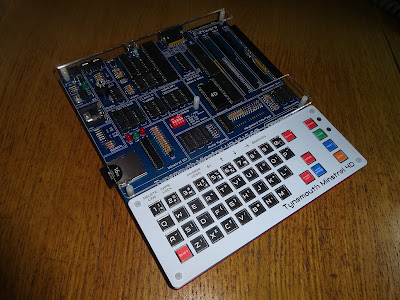
Minstrel 4D

If you fancy a kit with full instructions, the Minstrel 4D kits are shipping now, you can order one from The Future Was 8 bit - SPECIAL OFFER - £15 off the Minstrel 4D and free shipping to the USA.

Now also includes an option to have you kit built and tested if you don't fancy doing any soldering.

https://www.thefuturewas8bit.com/minstrel4d.html

More info in a previous post:

http://blog.tynemouthsoftware.co.uk/2022/08/minstrel-4d-overview.html


Patreon

You can support me via Patreon, and get access to advance previews of posts like this and behind the scenes updates. These are often in more detail than I can fit in here, this post contains bits from several Patreon posts. This also includes access to my Patreon only Discord server for even more regular updates.

https://www.patreon.com/tynemouthsoftware

Oh, and if anyone wants to buy the built "Mini PET Stealth", let me know.