This is an old post, preserved for reference.
The products and services mentioned within are no longer available.
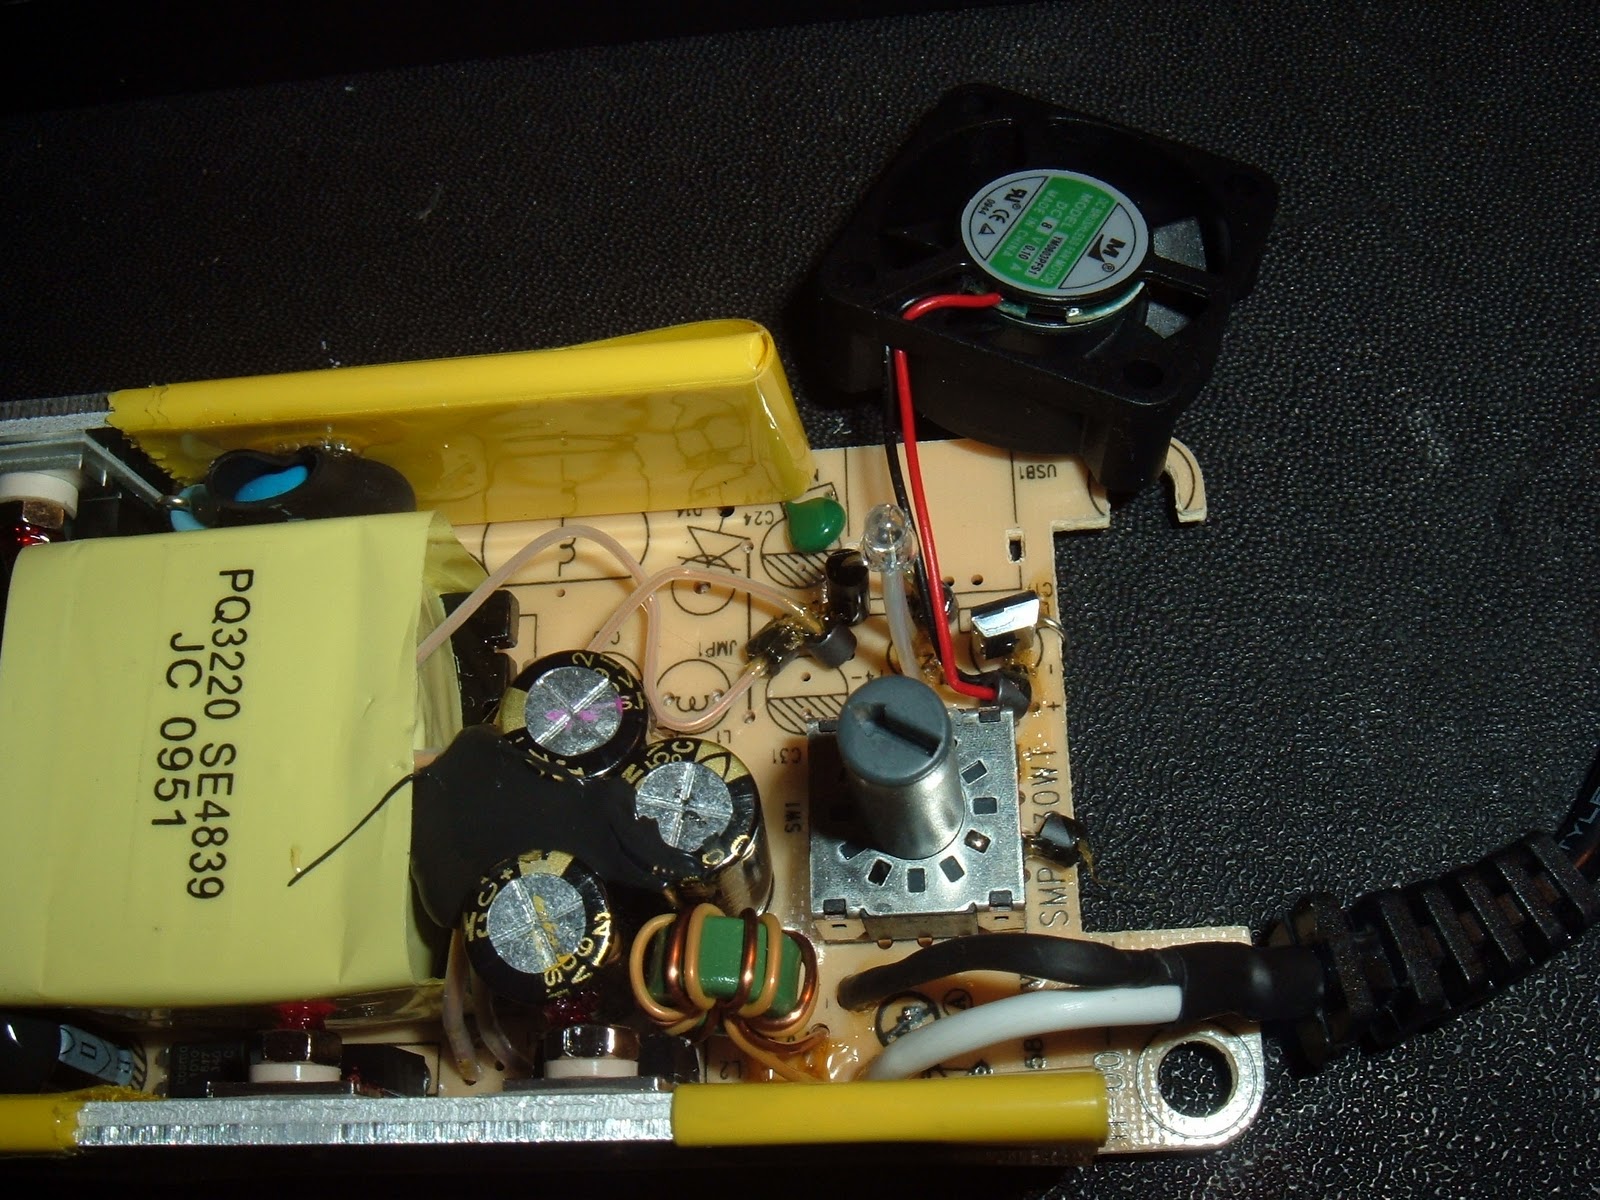
One useful thing in a supply like this, particularly when testing laptops, is an ammeter. This will show if a laptop is charging, and indeed how much it is drawing from the supply. I've also been looking at the voltage selection and the low voltage feedback side of the supply. It uses a potential divider across the output, 10K at the top and the bottom is one of a selection of precision resistors, chosen by the position of the switch, ranging from 1240R to 1910R. The centre of the divider is used to drive the LED on the opto isolator back to the mains side.

I've been doing the maths, and it looks like it needs to be about 2.6V to switch on the LED, which will switch off the chopper driver. So, when the output voltage is high enough to make the voltage at the divider is over 2.6V, the LED turns on and the chopper stops charging the output capacitors and the voltage drops until it is below 2.6V, the LED turns off and the chopper starts charging the output capacitors again.
The original selector switch is 11 position, and the lower 4 have an additional signal diode in series with the resistor. This seems to be needed to keep the overall resistance in the same range, by knocking 0.6V off the LED voltage.

In rehousing it, I did think about removing the existing switch and wiring a replacement from the front panel, but I thought I could probably just replace it. I did a bit more maths to work out the best replacement resistor values, and could make reasonably close to most of them with a combination of 2 standard E24 1% resistors. In the end, I thought if a job is worth doing, do it properly, so I went for a 12 way switch with 12 500R multiturn pots and approximate values to set the desired values mid range in the pots. I used multi turn pots for the best accuracy, and ended up with about +/- 1V adjustment on each one which has left me lots of room to set them as accurately as possible.

I thought I may as well use the extra position on the 12 way switch, so I added a 24V range, I also changed two of the lower ranges from 14V and 15V to 13.8V and 14.4V as these seemed more generally useful.

I would normally use 4mm terminals for something like this, but I wanted to keep the original cable, which is a single piece of coax, so I went for a 3 pin XLR connector for the output, more than sufficient for the maximum rated current.

So here is the finished unit, temporary labelled in pencil.

Note from 2022: I am still using this regularly and the front panel is still labelled in pencil.