This is an old post, preserved for reference.
The products and services mentioned within are no longer available.
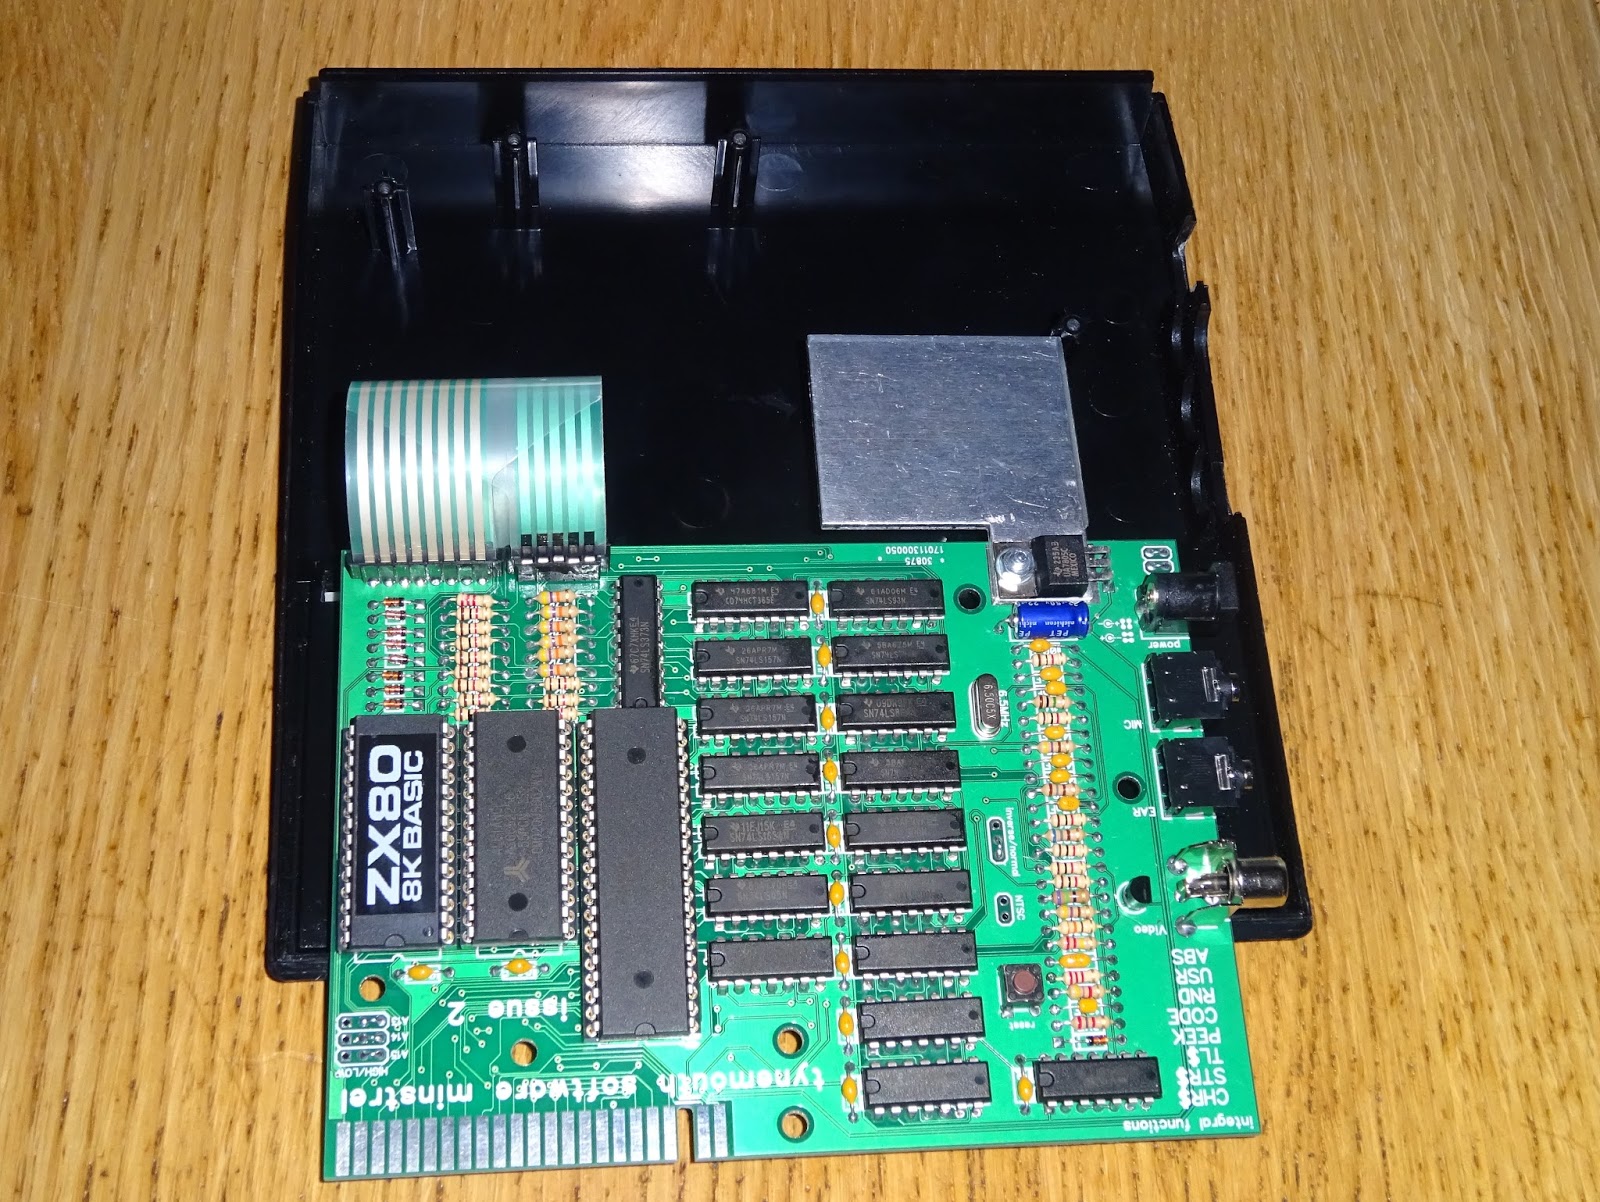
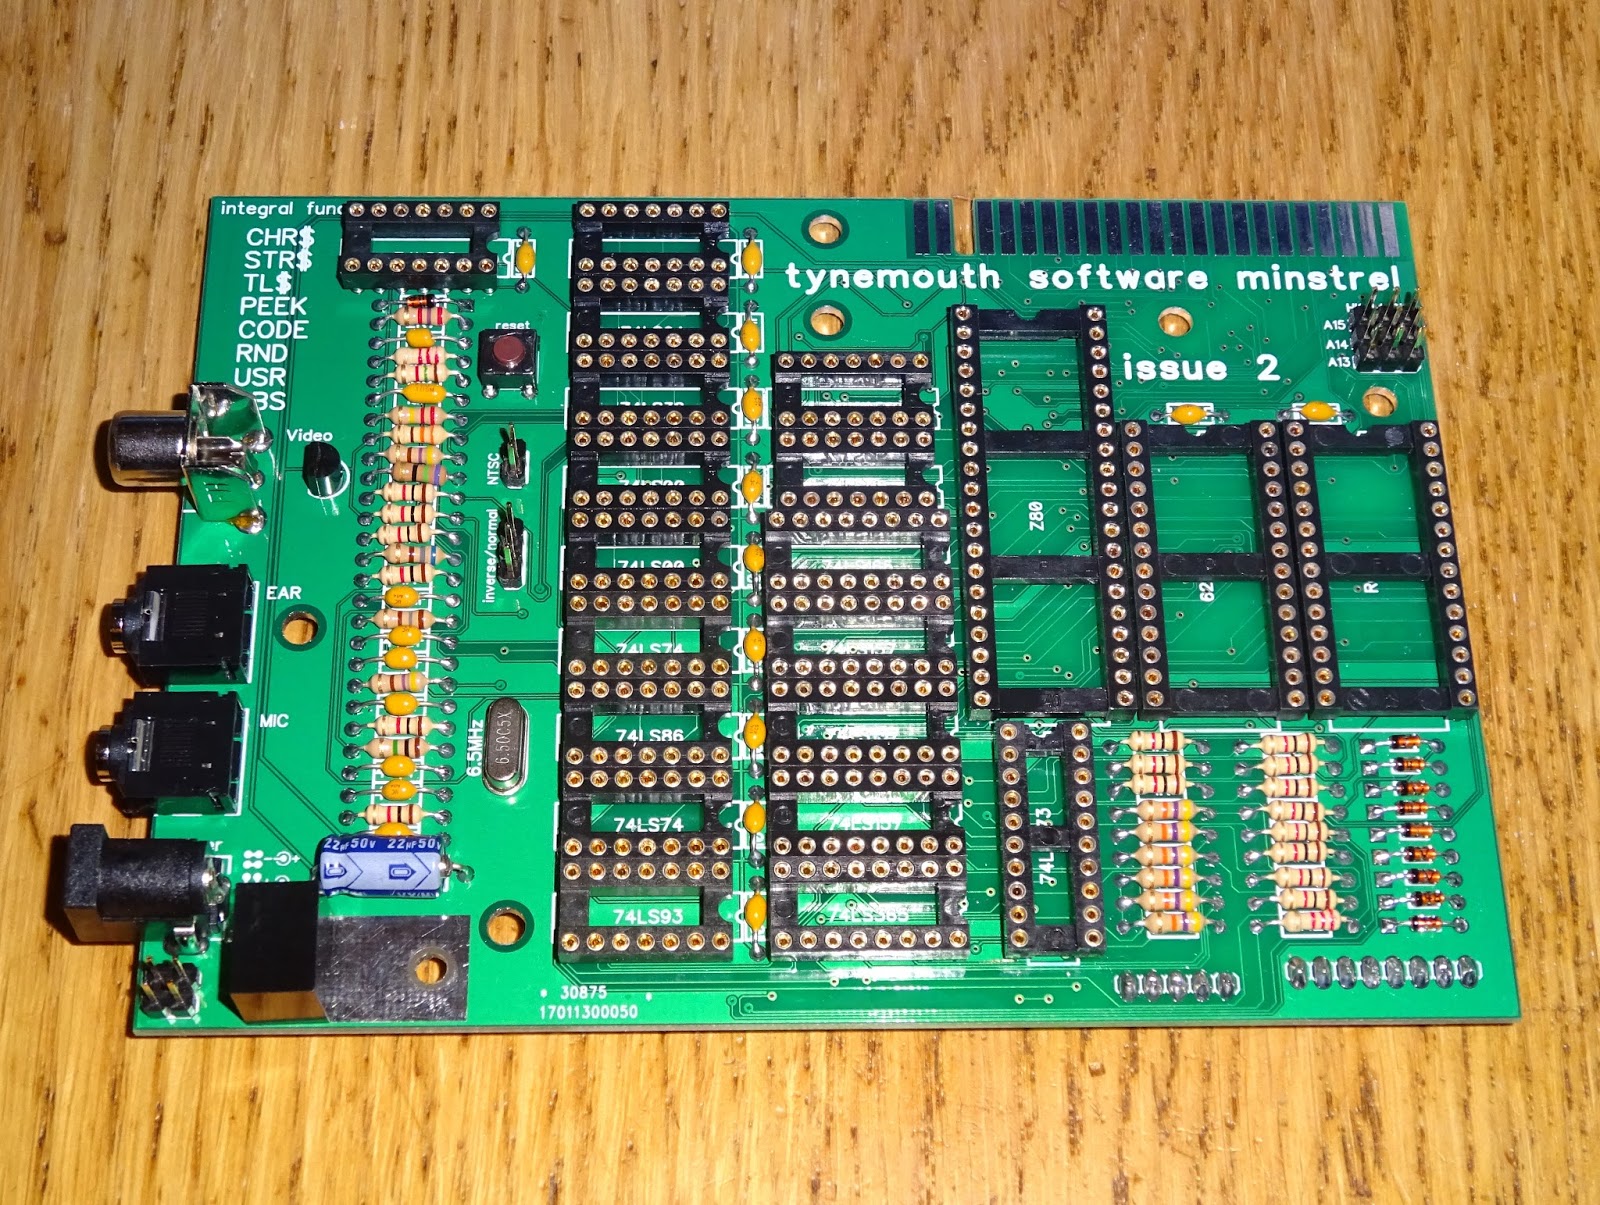
The classic rubber keyed Sinclair ZX Spectrum came in many versions. This one is issue 2, the first one produced in any volume.
I've dug this one out to answer a question posed on twitter:
This was part of a discussion about the new
DivMMC Future board, which I have been tweaking the design of to make it work with all the different versions of the Spectrum.
Most of the issue 2 Spectrums you see will look like this. A ZTX313 transistor is soldered across the Z80 CPU to fix a bug in the ULA.
It responds to IO requests at all addresses, rather than just all even addresses as on the ZX80 and ZX81. To fix this, this transistor pulls the IOREQ line high when A0 is high so the ULA will not respond.
The schematic shows two versions, the ZTX313 and the 'alternative to TR6'. This uses a diode which will do the same thing, and rather alarmingly, pulls the A0 line up to 12V.
Looking at the photos provided by Brendan Alford on twitter, it is actually pulled up to 9V. But still that is A0, a 5V TTL line pulled up to 9V. The pad on the left is A0, and IOREQ is picked up at the pad at the bottom of the CPU.
I've looked through my collection of Issue 2 Spectrums, and I couldn't find one with that modification. I tried to find one that was a close match, a factory 48K model with the Hitachi ROM.
I found this one which looked a likely candidate, and it seemed to work, but I found that I was having problems with some games. JetPac was fine, as that only needs 16K, but others were failing. I loaded a RAM tester (from
zx.zigg.net). That confirmed the lower 16K RAM was fine, but there was a fault (or rather several faults) in the upper 32K RAM.
So first job was to replace the RAM. This took a while as there were initially 4 faulty RAM chips, and one more which failed after a few minutes testing. I ended up replacing all 8 RAM chips to be safe.
In common with many issue 2 boards, the colours are all wrong when viewed on a colour TV. They are normally blue or yellow, but this one has gone green.
There are lots of adjustments here, and even then it can be tricky. Here I've clipped on a temporary composite video modification.
To the left of the ULA, there are four adjustments. The top variable capacitor needs to be adjusted so the clock is 14MHz (here checked at the CPU clock which is that divided by 4)
The second one adjusts the colour burst frequency to 4.433619MHz.
The two variable resistors are adjusted to find the sweet spot between yellow and blue, and at last, we have white.
With the RAM working and the picture sorted, I could get back to the testing. My plan was to test this issue 2 Spectrum with a selection of DivMMC boards. The three candidates will remain anonymous, but I can tell you that the green board on the right is the DivMMC future. Neat isn't it?
First up, all three boards worked. I tried several games, going in and out of the menu, saving and loading etc. Also using the Kempston joystick port that all three provide. No problems.
The next step was to try to replicate the 'alternative to TR6'. I carefully removed the transistor and installed a diode and resistor as per the photos.
I cautiously powered on the Spectrum, but no need to panic, it came on fine, and seemed to work OK. Time for some testing. Again all was fine, all three boards worked. No problem. So why are people saying the DivMMC will not work on an issue 2 with the diode-resistor mod?
The photo on the left is the one from Twitter, on the right is my modified board. Can you spot the difference? There is a 1K resistor on the board I was testing. This wasn't present on the one in the photo. That is part of another mod on the issue 2 schematic.
This one isn't that clear from the schematic, there is a join to the 5V line above TR6 which really shouldn't be there. I've tidied it up a little.
What it's saying is change the value of R24 from 3K3 to 1K, replace D14 with a 100pF capacitor, and add a 1K pullup to the clock line. The capacitor should speed up the transition time of the clock signal, and the reduced value and pullup should make it a stronger signal. Ah, now this is making sense. It looks like my board has this mod fitted, and the early ones do not.
Here R24 is indeed 1K, and two below that, the light green part is a 100pF axial capacitor. Before I revert the clock circuit, here is how the clock signal currently looks on the scope. 3.5MHz, around 3V peak to peak, not a very good square wave. Remember, this is the improved version!
With those removed you can see the silkscreen still shows the legend D14.
I've now replaced those with the parts on the original schematic.
The 1K pullup is also gone, so now it is back to the original clock circuit, which should match the one in the photo from twitter.
OK that powers on, so far so good. Let's check the clock on the scope. A bit worse now, down to a bit over 2V peak to peak and an even worse square wave. This is good enough to drive the Z80, but anything else plugged into this line will have difficulty working with that clock signal.
Over the last few months, I've spent rather a lot of time looking a clock signals from various issues of Spectrum. There is a great variance from this sort of thing all the way up to perfect 5V peak to peak square waves, so it is difficult for a plug in board to work across the range. There is a more detailed blog to follow on all the fun we have had getting the DivMMC future to work on boards like this.
With the issue 2 board reverted back to the early releases with the diode-resistor mod and no clock mod. Time to test with the DivMMC boards.
Black screen from the black board, sometime with various patterns, occasionally trying to start but locking up on the detection screen. Same from the blue board.
I tried several SD cards, as this can make a difference, and once got a bit of a menu.
Time to test the DivMMC future.
Great, menu loaded, games running. All games loading fine.
So, to answer the original question. Will the DivMMC future run on boards with the diode-resistor mod? Yes, but so will some other DivMMC boards.
The question to ask is will the DivMMC future work on early issue 2 boards without the clock mod? The answer is Yes. Will the other boards, not really.
Addendum: Thinking about the issue here, I remembered the Spectrum 128K+ Toastrack also has a rubbish clock signal, and some of these boards have a special switch to cope with the Toastrack, which adds a pullup to the clock line to try to get it into range. With the other units switched into Toastrack mode, it was a bit better, not 100%, but it was usable, you just need to remember to set the appropriate switches.
That's the nice thing about the
DivMMC future, it did that automatically, no dip switches or jumpers, only the menu and reset buttons.
The DivMMC future will be available to pre-order soon. For the moment, watch this space, follow
@futurewas8bit on twitter or sign up for
the Future was 8 bit newsletter (link at the bottom of that page).
2022 Update: The production version of the DivMMC future is now available from The Future Was 8 bit