This is an old post, preserved for reference.
The products and services mentioned within are no longer available.
A few weeks ago, I wrote about
building a prototype version of Bitfixer's Petdisk, an IEEE-488 disk drive for Commodore Pet computers, using an SD card for storage. Credit again to
Bitfixer, the creator of the original
Petdisk. This was the first stage of a plan to build my own Pet disk drive emulator, recreate what has already been done to prove the principle.
That version was built on an Arduino UNO, using the same pins to connect to the IEEE-488 port as the original version of Petdisk. This allowed me to load the original firmware in to check everything was working.
I did get some way along the road writing a version in the Arduino environment. I started from scratch, but followed the general lines of the Petdisk firmware. I was hoping this might come out to be a some nice short simple Arduino code using the SD libraries etc. However testing showed the I/O operations needs to be fast, so I had to replace all the nicely wrapped Arduino DigialRead and DigitalWrite calls with direct PORT and DDR access. I ended up removing most of the serial debug I had added as well. But it did work. I started with an empty directory and a simple hard coded 48 byte test program.
Whatever filename was requested, it would return the same 48 bytes. With that working, I started using the Arduino SD library to load files. That is working, but is unfortunately limited to 8.3 filenames. I didn't get around to writing the directory listing bit, but that should be possible. So, the new firmware can be written, but probably best not in the Arduino environment.
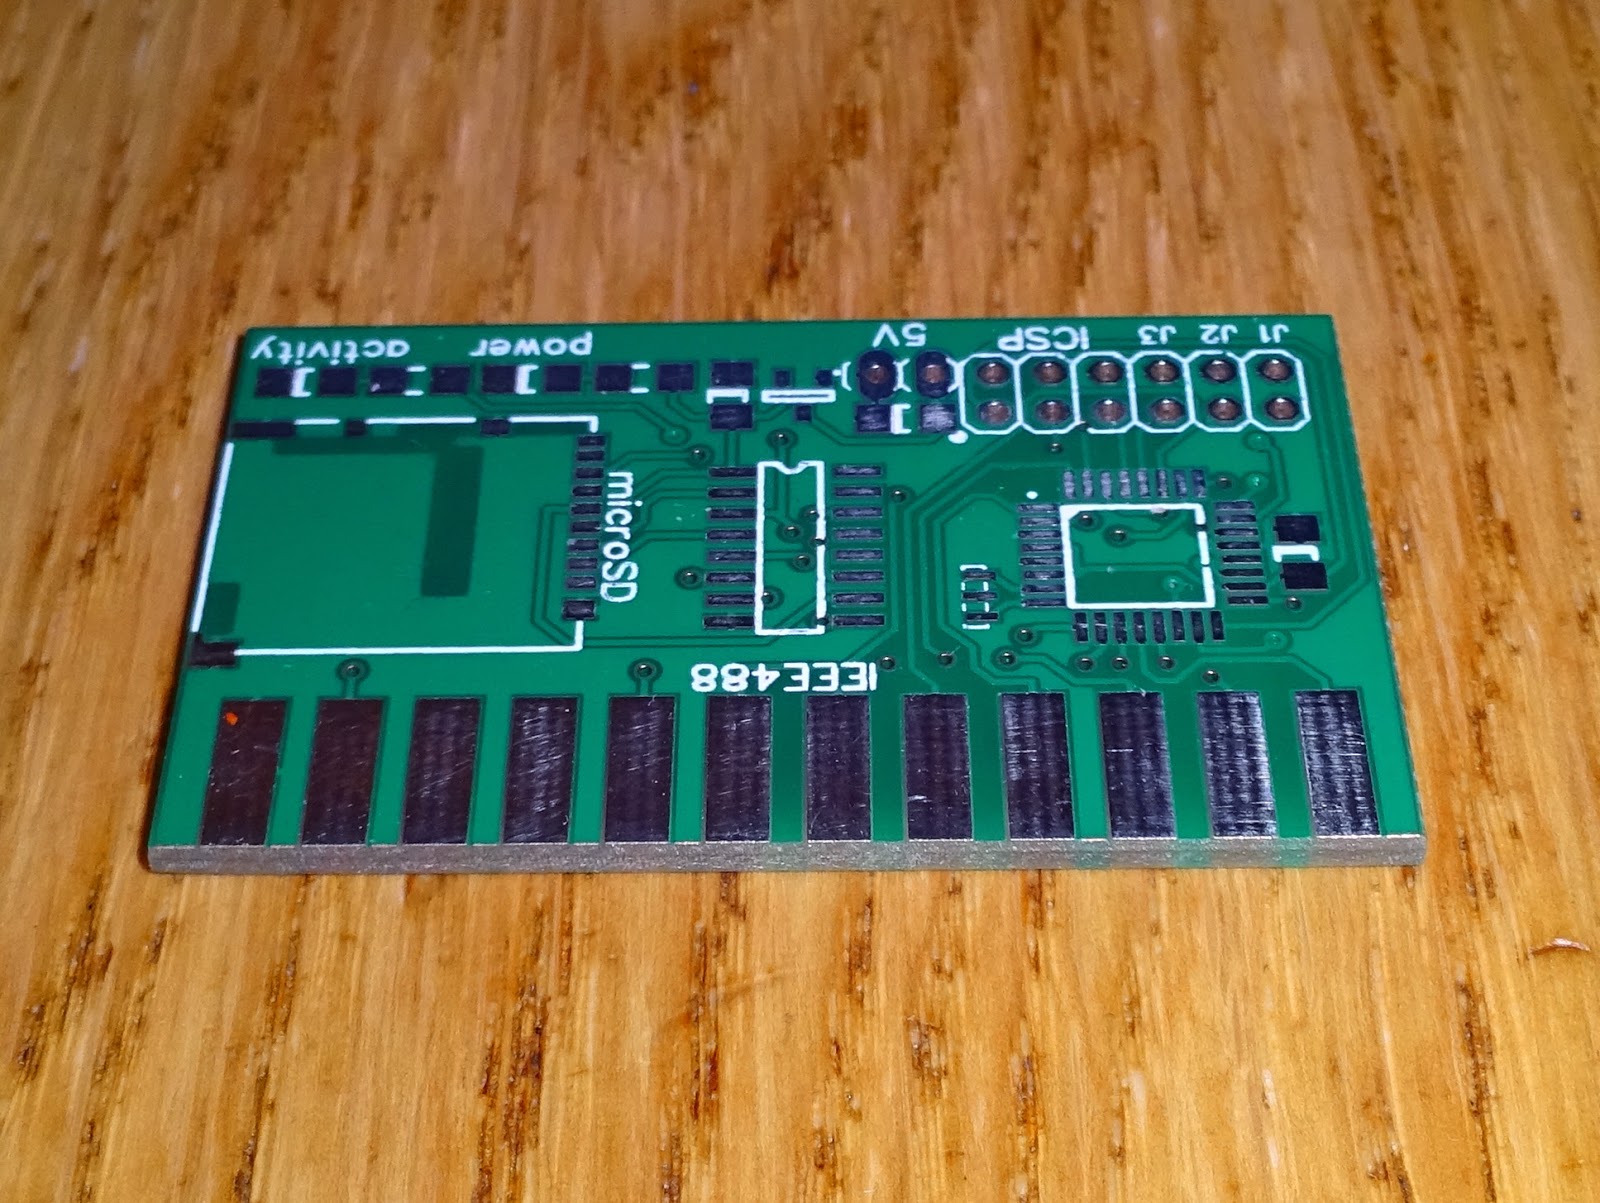
The next step was making a PCB version of the SD card version. This would again use the same connections to the IEEE-488 port as Petdisk, so it could use that firmware. As with the Arduino UNO, I used the ATmega328P. Not the actual chip used on the Petdisk (that was the ATmega168), but similar enough to allow the firmware to be used.
Rather than the diode / resistor level conversion used on Petdisk, I went for a 3.3V LDO regulator, and a 4050 hex buffer working as a level shifter. I also went for a microSD card socket rather than full size SD. I added a power LED and using a spare gate of the buffer, an activity LED.
The board slides into the pins of IEEE-488 24 way 0.156" edge connector and it is soldered down on both sides. I missed out the pass-through connector and the USB power connector and went for a simple two pin header for the power. OK, it's sounding less and less like a clone now, not quite an emulator, but the only thing in common between this and the Petdisk now are the edge connector and the microSD card.
The pins at the back are the power in, the 6 pin Atmel programming header and the three jumpers. Two for the address setting, one can be used for serial out.
I built a few for my machines and a few friends who have also tried but been unable to buy a Petdisk.
I have a few boards left if anyone else is in the same position.
With the Petdisk v2.0 beta firmware loaded, that is working nicely. I am in the process of writing some new replacement firmware, I've gone back to plain C in Atmel studio, rather than in the Arduino environment.
In my version, I'd like to add some new features, BASIC 4.0 disk commands like 'DIRECTORY' and DLOAD, shift + RUN/STOP support, non- PRG files and file OPEN commands.
One of the things I've been looking at is an old text adventure game. I've found a D64 image, which contains a .PRG file and many .SEQ data files. With those transferred to an 8250 disk, it loads and runs. With the Petdisk firmware it gets so far but cannot load the instructions or start the game as these use OPEN and INPUT# commands. The aim is to get that working.
2022 Update: I have since designed a much nicer SD drive for a PET. The SD2PET is available from The Future Was 8 bit: SD2PET