This is an old post, preserved for reference.
The products and services mentioned within are no longer available.
This is an update to the library I have written for the Arduino which makes use of
Grant Searle's Video Processor. Grant has recently updated his video processor code to support 40 character mode as well as the original 80 character mode, added a second font and a double line mode. There is now also a 160x100 pixel graphics mode.
The principal is this, you have an Arduino with your code in and this library, and connected to that you have a second ATMega328P (the same chip as is used in the Arduino) and a 74HCT166 shift register. Together they do all the work involved in generating a composite video signal suitable to connect to a TV or video monitor. You can build up these additional components on breadboard, or I have build a shield which fits onto the Arduino with all the required components on. The DIP switches select the default font and communication settings.
Interfacing between the Arduino and the video processor can be done in three ways. The original way was an 8 wire parallel bus with 2 handshaking control lines. A second mode was later added which allowed this to be reduced to 4 wires and 2 handshaking lines. The third method uses 2 wires in TWI or I
2C mode, which was originally a fork of the code as part of an earlier version of this library, but has now been rolled into the main code. (
Note: the diagram below shows shift/load connected to the ATmega in the way I had originally connected it. Since this post, Grant has changed the code to use PC3 (A3) for shift load).

The pin assignment on the video processor has been updated so that the two TWI pins will always be connected (they are used for handshaking in 4-bit and 8-bit modes). The library and shield support all three, just make sure the library and the wiring match. The 8 bit is up to twice as fast as TWI mode (30,000 characters / second vs 18,000), but for most applications, either should be sufficiently fast. The 8 and 4 bit versions can use any pins that are spare, the TWI version needs to use A4 and A5. So unless you need to have A4 and A5 for some other use, or you really need speed, it's probably easiest to use TWI mode. All the demos are coded for TWI, but can easily be adapted to 4-bit or 8-bit mode by changing only the terminal constructor line. See the comments in the code for further information. I also connect the reset lines together, so the video processor gets reset when the Arduino is reprogrammed, so you get a clean start each time you change your code. Otherwise, tie the reset line high.

The source and hex file for the video processor are unmodified from Grant's original and are included in the library with permission. The fuses need to be set to E6 D9 FF. You can program an ATMega328P using an EPROM programmer (such as the mini pro shown above) or Arduino as ISP (see
the earlier article for further information on this and the avrdude command line).
The library can be downloaded
here. If you are using Arduino 1.0.5, you can import this be going to the 'Sketch' menu, selecting 'Import Library' and then 'Add Library'. Browse to the downloaded zip file and add it. With older versions, just unzip the 'Terminal' folder and add it to the 'libraries' folder in your Arduino directory.
As previously, I've had fun writing a few samples. The mock up BBC start screen now looks better in 40 character mode which more closely matches mode 7 (the previous demo was more like mode 0). The homage to Look Around You also works better in 40 character mode.
I've updated the Hello World samples to show the character set in a more useful way, and added spinning characters in the corners.
The new version of the video processor supports multiple different styles, on a per line basis, there is now a demo showing off the various options.
The new version also brings graphics mode. The ability to address the display as 160x100 pixels with set pixel and clear pixel commands. I've extended this functionality in the library and added functions to draw lines, boxes and circles.
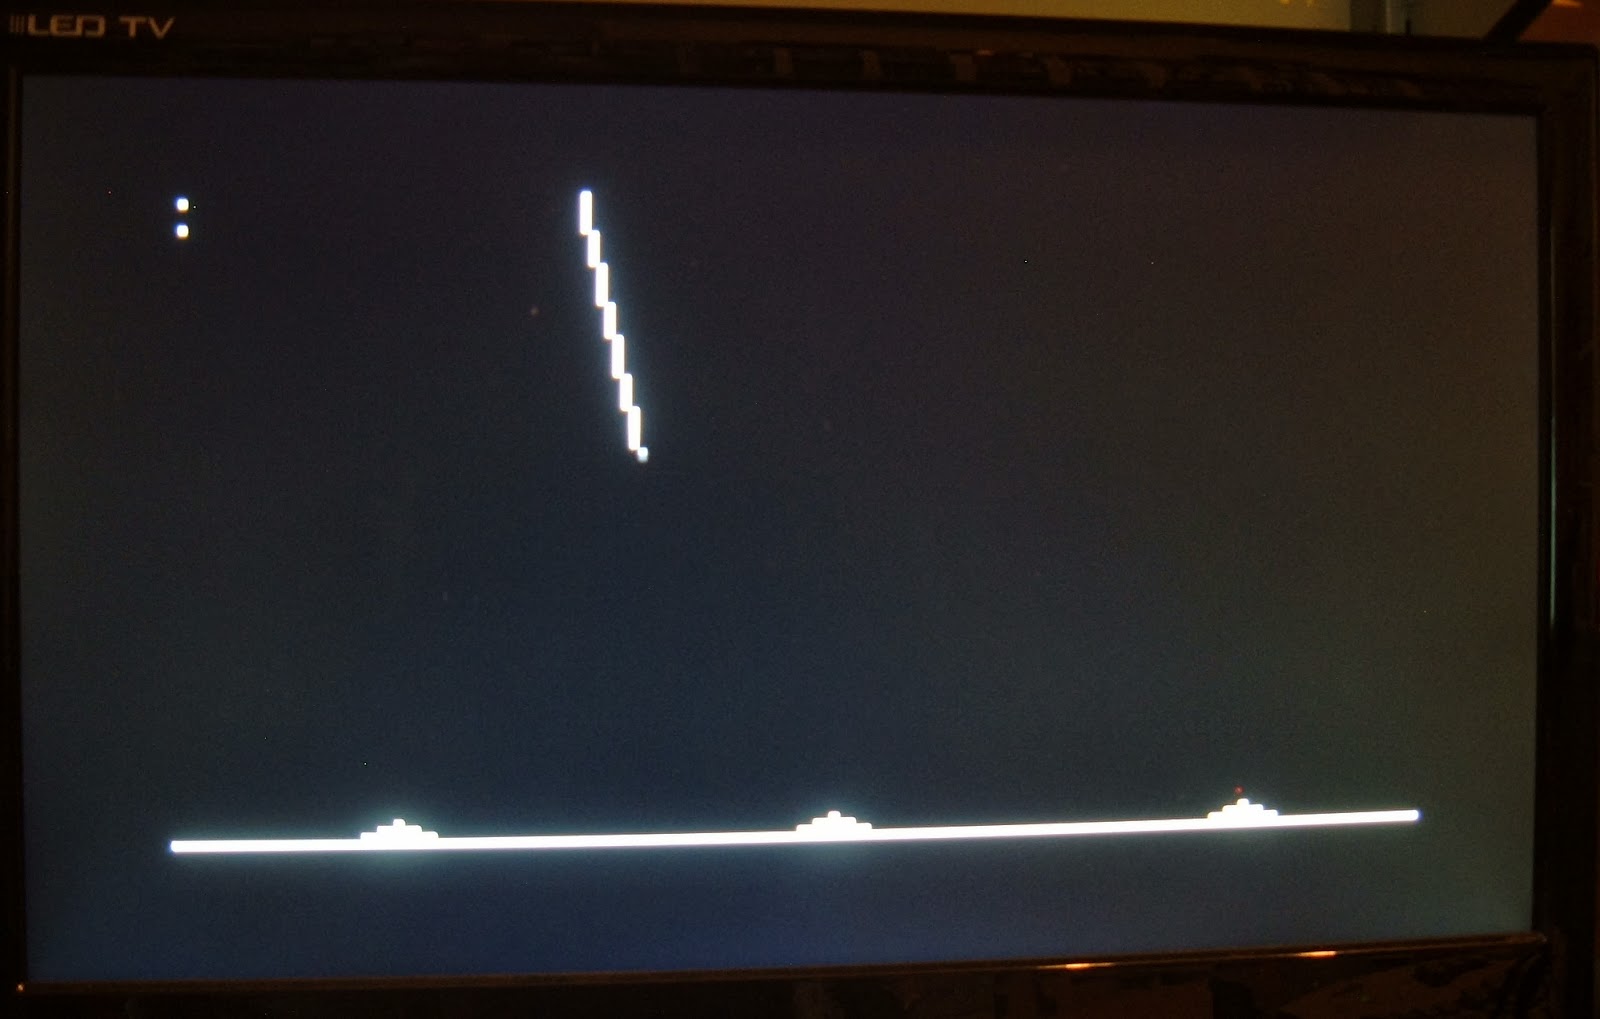
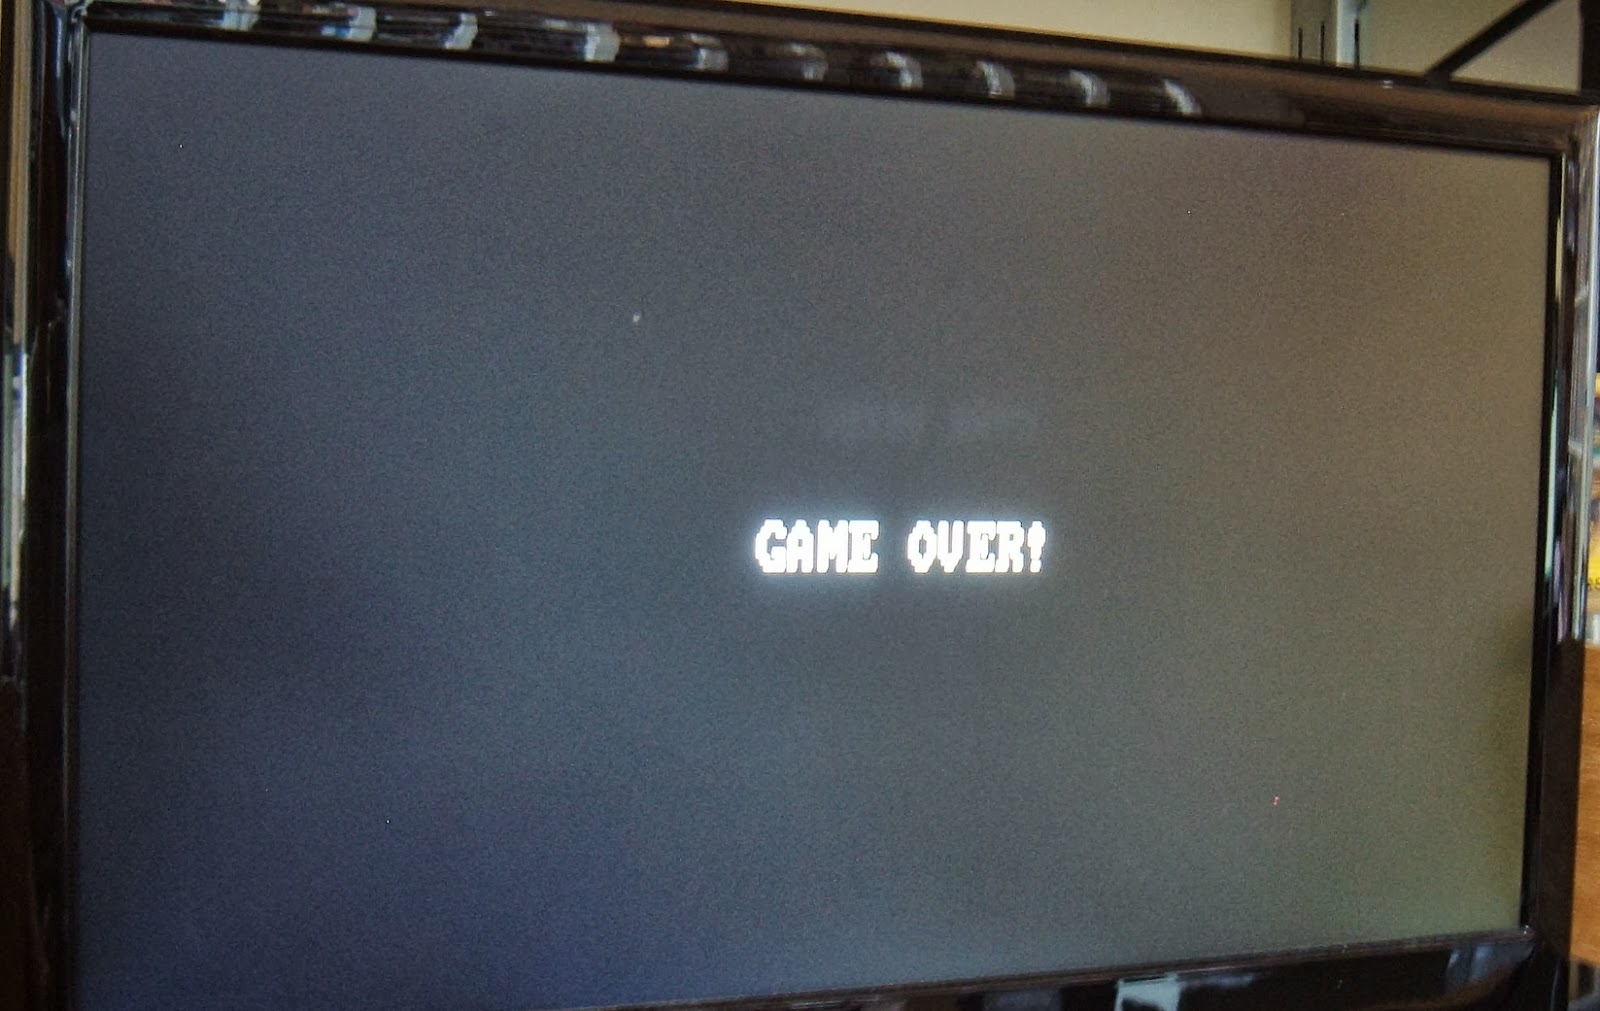
When testing the line drawing, it reminded me of the old Missile Command games, so I mocked up a demo of that. This is just a simulation, it just fires at the bases and loops around after firing 5 shots. I don't know if there is enough to be able to make that a playable game, maybe.