This is an old post, preserved for reference.
The products and services mentioned within are no longer available.
This is the ninth part of the repair and restoration of a Commodore Pet 4032. This is where it is all coming together. To recap from way back in
Part 1, this early 1980's Commodore Pet 4032-32N computer has not been a Commodore Pet for probably 20 years.
When it arrived here, it had a PC installed inside it. The original board, had failed and been removed so I didn't have it. Last year, I removed the Pentium 75 board and tried various options for turning it back into a useful computer, and for a while, it ram a Z80 CP/M system. However, it should be a Commodore Pet, so I looked around to replace the missing parts. Parts being in short supply, I ended up getting them from a couple of different computers. Now everything is complete, time to put it together.
The bottom part of the case was a little rusty and have a few additional holes added from the PC board. I sanded this down and resprayed it.
Now that's nice and shiny, time to add the power supply I refurbished back in
Part 2. This was partly from an 8032-SK, with the bracket from an 8250.
The capacitor is tied down to a couple of cable tie mounts. I think these would have been riveted originally, but I've bolted some on instead.
Next comes the main board. This originated from an 8032-SK that was incomplete, rusty and had some cosmetic damage.
Various problems have been fixed on this board, including various corroded components, dodgy sockets, broken tracks, faulty 6520, 6545, 74LS00x2, 74LS74, 74LS244x2, 74154, 8x4116, 1xmask ROM (901474-04). See Parts
3,
4,
5 and
7. It was originally an 80 column board, but was converted to 40 column to match what would originally have been fitted, back in
part 6.
That's all looking good.
Nice to see the edge connectors sticking out at the back. Probably 20 years since this had working Pet board in it. Next, the top case needs a bit of a clean.
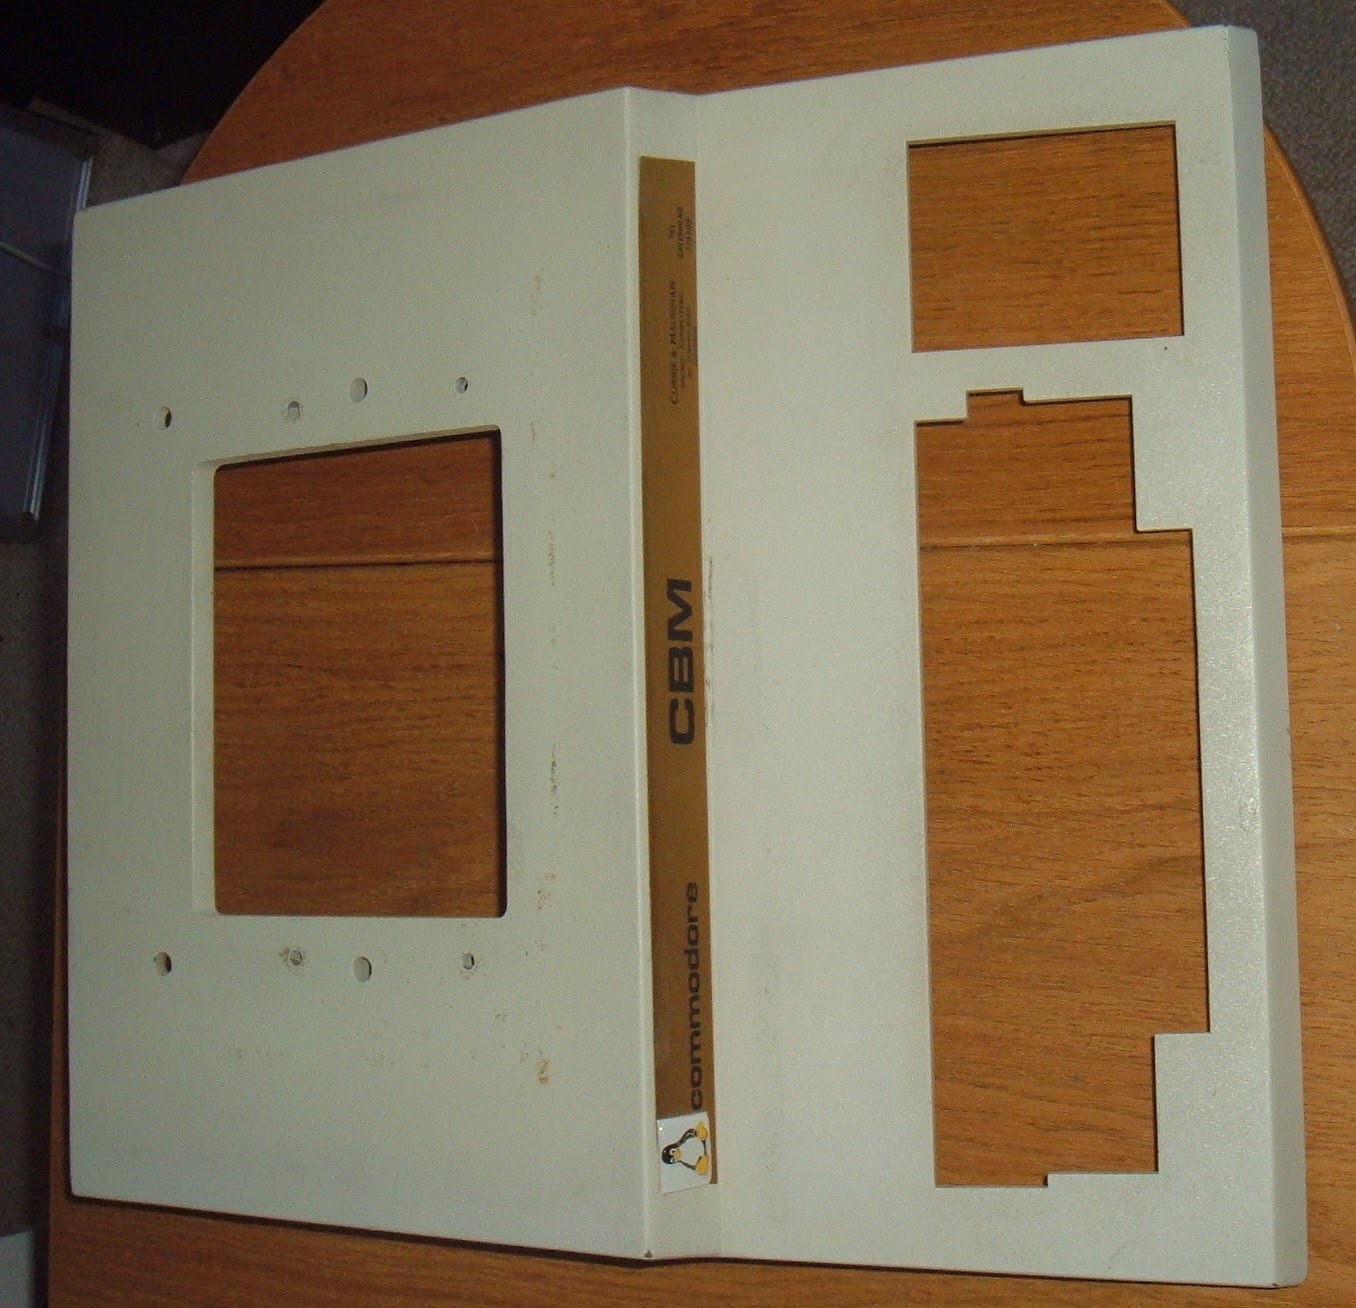
Now I remember why I put that tux badge there, the label beneath was damaged.
Not sure what to do about that. For the moment, I've carefully removed it cleaned the rest of the case. Now to install the keyboard that was refurbished in
part 8.
One of the unique features of these computers is a car bonnet style case prop, which allows you to hold open the lid.
That's the base and the lid done.
The hole on the top is for the monitor, and the cables run through that.
Now for the
monitor, but it needs a bit of a clean first.