Monday, 25 May 2020

The Mini PET Pre-Order Open

This is an old post, preserved for reference.
The products and services mentioned within are no longer available.

You've had the Minstrel 2, the Minstrel 3 and the Minstrel 4th. Introducing the Minstrel 5 Mini PET.
It does what it says on the tin. It is a fully functional 6502 based computer, compatible with a Commodore PET 2001N-32 (3032/4032), but in a much smaller form factor, less than a quarter of the size and a tenth of the power consumption.
The connectors at the back are positioned the same, so it can be installed in a PET case as a replacement board.
There's a lot of space left inside, isn't there.
Or it can be used standalone with a composite video monitor as a complete PET, only this one doesn't take up as much bench space.
There is a full IEEE-488 port, a User port and one datasette port (with a header for a second port), and an onboard piezo buzzer as found on later PETs.
The external datasette port can be configured as drive 1 or 2, with the other available for connection of a second drive via a pin header inside the case.
A second board is used to extract 9V DC from the PETs internal power supply (suitable for 5 pin 2001 and later 9 pin power connectors).
Video is generated using the same dual port RAM video as the Minstrel 4th, it outputs 40x25 text as PAL or NTSC composite video or can drive PET 9" or 12" monitors if mounted in a PET case.
It is designed to act the same as 2001N PET technology, 40 column text/character graphics. It does not have the CRTC chip in later 12" monitor PETs.
The kit uses all new, currently in production parts, including WDC 65C02S CPU. The pinout of this is slightly different to the original 6502, so it does not support anything else which plugs into the 6502 socket (so the Super PET board, 64K board and even PET Diagnostics are not supported). IO uses the N variants of the W65C21N/22N, which are more compatible with the NMOS originals than the S variants. There is 32K of RAM, and there are one of eight blocks of 28K of ROM, giving a choice of BASIC 1/2/4 with support for chiclet or normal / graphics or the business keyboard.
Most early PET software was designed for the chiclet or normal/graphics keyboard (20 key keypad), so any titles which bypass the OS keyboard routines may not work correctly with the business keyboard (11 key keypad).
Although it is technically possible to support a VIC20/C64 keyboard via an alternate ROM, this is not recommended as many keys are missing or labelled differently. Seriously folks, please stop asking. I tried this years ago and it really doesn't work very well. You won't like it. Don't bother. 
This is available as a self assembly kit, with all through hole parts for easy assembly, and high quality turned pin sockets for all ICs.

The Mini PET is available to preorder now as two kit options:

Kit A

This is the stand alone unit with 73 key tact switch normal / graphics keyboard. This is powered by a 9V DC power supply (such as this one), and output is via a composite video jack.

Kit B

This is a replacement board that can fit in PET case, uses the PETs power supply, keyboard, monitor and internal datasette (if it had one). It can drive 9" or 12" monitors, there are separate connections for these as the have different signal polarity on some of the pins.
It comes with board to connect to PET power supply (5 pin or 9 pin) and a connector for an internal datasette (as drive ID 1 or 2).
This is a suitable replacement for 2001/2001N/30xx/40xx PET cases, also 80xx and 80xx-SK (although only as a 40 column machines).

SD2PET

The SD2PET SD card disk drive would be an ideal companion to either kit. Fast loading of PRG files of D64/D80/D82 disk image files from SD card.

The Mini PET is available to pre-order now from TFW8b, shipping in 3-4 weeks.

2022 Update: The Mini PET has been replaced by the Mini PET 40/80. This has a built in much nicer keyboard and supports 40 and 80 column mode. Also available is the Mini PET 40/80D, a preassembled drop in replacement board with a built in SD2PET. Both are available now from The Future Was 8 bit.

Sunday, 17 May 2020

Loading Programs on a Minstrel 4th (or Jupiter Ace)

This is an old post, preserved for reference.
The products and services mentioned within are no longer available.

The Minstrel 4th uses cassettes to save and load programs, in the same way as the Jupiter Ace, and many other computers of the era.
If you are familiar with the Minstrel 2 or 3 or machines like the Sinclair ZX80/81 etc. you might try the following.
That will not work. You need to type load, and you don't need the quotes. You also need a filename, and it is case sensitive. If you type load without a filename, it will display any dictionary files it finds.
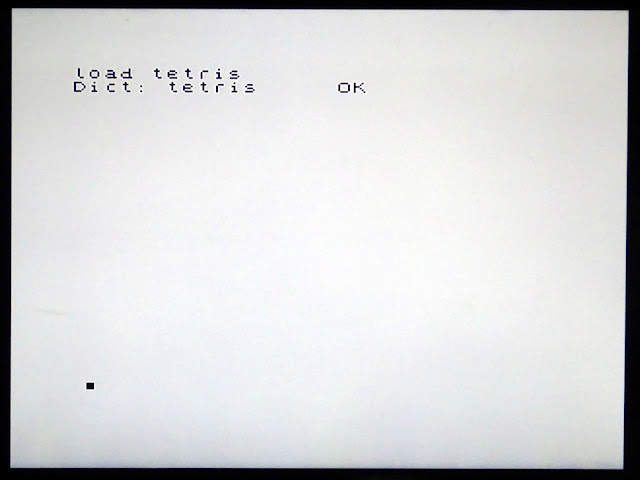
So, if you wanted to load TUTTUT, you would need to type load TUTTUT, but for tetris, you would type load tetris
All being well, that will be found and loaded. Once it's loaded, you need to run it, that is usually the name of the program, or if not, see the instructions on the cassette inlay (what do you mean you aren't loading from an original cassette?).
That should start your program and away you go, I have spent much time testing Minstrel 4th with tetris and Tut-Tut. It's a hard life being me.
That is not the full story, however.

Back in the mists of time when the Minstrel 4th was being developed, I had reached the point where it was running, the display was clear, it was running all the code I typed in.
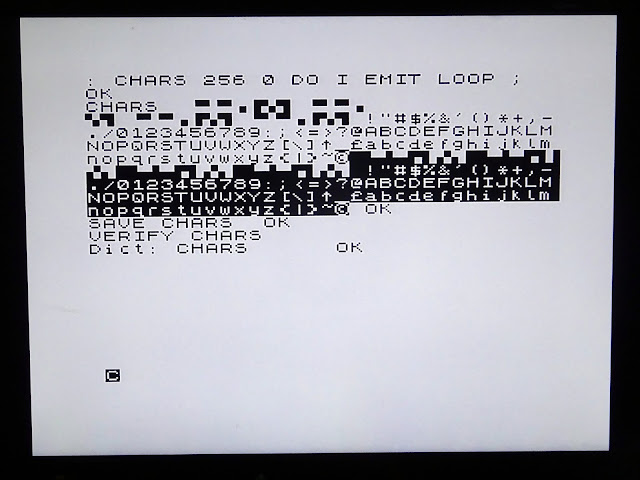
I had moved to trying out saving and loading, and it was successfully saving, verifying and loading it's own programs.
I didn't have any actual Jupiter Ace tapes to try to load (or a working Ace to compare against), so I was working from files from 'the internet', and loading them via a tzxduino based device.
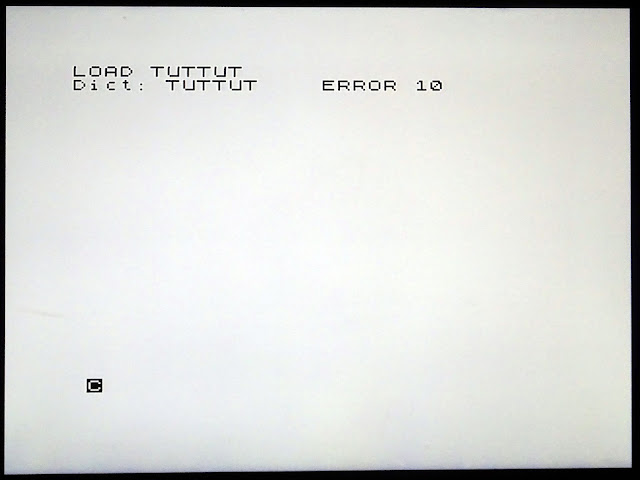
It was sort of working, but would always fail with 'error 10' (which just means it failed to load). I gave up on that, and went for plan B. This was the EightyOne emulator, which would 'play' the loading sounds as it loaded files.
This again failed. Again and again. At this point I was assuming (incorrectly, it turns out), that because all of these separate methods were failing, the problem must be with the Minstrel 4th.
I then spent ages trying out all sorts of things trying to improve the loading, including adding in buffer amplifiers and all sorts of different input circuits.
All the time though, the signals looked decent on the oscilloscope (the top is the output 5V peak to peak square wave, the bottom trace is the input from the tape).
I even tried building a separate signal booster, based on a circuit designed to help tape loading for the ZX81. This has an active filter which boosts the signals of the frequency used by the tape signals. That made no difference (in fact it was a bit worse as it required quite a high signal level to start with).
I decided to dig out my first attempt at a Jupiter Ace clone (more on that in a future blog post). That was close to the original schematic, but there was a mistake somewhere in that (or in my implementation of it) that caused the screen RAM to keep being corrupted. It worked well enough to try loading, just to see if that was any better.
No, it wasn't. Same issues there. More head banging, more running around in circles.

I finally decided to challenge my original assumptions that the files being output from tzxduino, the PC, the laptop, the phone and all the other things that I had tried may have been the problem. Looking around I when through various programs that claimed to do tap to wav conversions.
One of the ones I hadn't tried before was castool, part of the MAME suite. That was a command line program that took a .tap file and generated a .wav file. That specifically stated that it supported the Jupiter Ace format.
I tried that out, fed to the wav file out of the soundcard and tried to load it.
First time it loaded. First time. After all that messing around. First time!
I had various booster circuits installed at the time, so I wanted to know if I could remove them, so I went back to the original board, and guess what, that also loaded straight away (but still with the frustrating screen corruption).
All that time wasted trying to fix a problem with the hardware that was actually a problem with using the wrong third party software to feed it. I reverted the Minstrel 4th board back to the basic circuit I had in the first place, which was perfectly fine, it continued to load without any problems.
So, after all that, it came down to finding the correct way of generating the wav files. What I found was castool was generating files in two blocks (which worked).
Other conversion tools seemed to generate a single block (which didn't work). The same with TZXduino, it seems they support .tap files for the Spectrum which are not the same format and do not generate the right output.
I also found the output of EightyOne was different again, and looking closer at it, contained glitches, possibly caused by other programs running on the PC at the same time as they were not consistent.
Since switching to castool, I have had no problems loading files on the Minstrel 4th. It only supports .tap files, so I have been using Eighty One to open .tzx files and save as .tap files if necessary. I was also able to try some machine code programs that required the bload command.
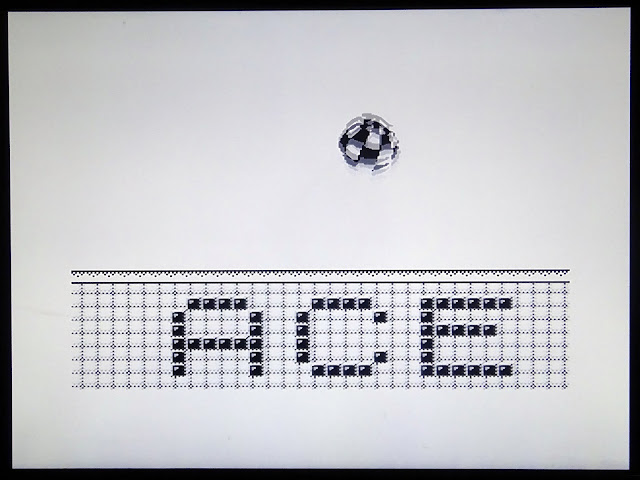
This 'Big Character Scroller Demo' runs very nicely on the Minstrel 4th, with scrolling text and very Amiga like bouncing balls.

I would like the Minstrel 4th to have some other loading options. The first is likely to be serial based, development of that is progressing well.
Work has also started on SD and CF based storage options, and given the RC2014 bus, anything developed for that would also potentially be an option.
The Minstrel 4th and RC2014 Serial cards are available from My Tindie Store.

Update:
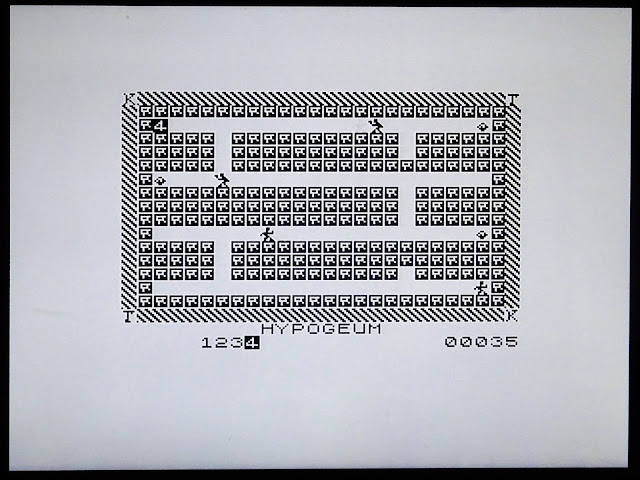
During testing, I found I had better results recording the programs onto tape using a cassette recorder, and then loading into the 4th from tape. In discussing this, I had suggested it may be having some form of low pass filter effect. George Beckett has tested this further and found that applying a low pass filter at around 8KHz to the wav file within Audacity gives similarly good results.

Minstrel 4ths, are now available from The Future Was 8 bit.

Sunday, 10 May 2020

What is a Minstrel?

In the build up to the launch of the Minstrel 4th and the reopening of my Tindie store last week, I made a few changes to the existing Minstrel line up, so I thought it would be good to answer a few of the questions about that, starting with What is a Minstrel?
Minstrels are a series of Z80 based computer kits in the same shaped board as a ZX81. The first of these was launched in 2016, the Minstrel 1, a clone of the ZX80 design. It was only produced in small numbers, a sort of proof of principle (so they must now be worth at least $1M each). Could I make something that size which worked as a ZX80 computer, but was able to fit into a ZX81 case and use it's keyboard?
That was soon followed by the Minstrel Issue 2 (I dropped the 'Issue' bit later on, and just refer to that is the Minstrel 2 now). This added a back porch circuit to the video output to make it more usable, and also an edge connector for ZX81 expansions. That was still pretty much the ZX80 design, other than the RAM and ROM were switched for currently available chips, giving it 16K or RAM and multiple ROM options.
Due to a mixup by the PCB manufacturer, one batch of Minstrel 2 boards arrived in blue, and that has sort of stuck. I have kept green boards available in small numbers, but there are only a few left, the Minstrel 2 is only be available in blue now.
The Minstrel 2 has been refined a few times over the years, the latest being the Minstrel 2 V2.8. That includes a slight change to the composite video output to match that developed for the Minstrel 3.
The Minstrel 2 still follows the ZX80 design, so could only run some ZX81 software, as it lacked the 'slow' mode where it could run code in the gap at the top of the screen, instead of having to stop drawing the screen altogether when it wanted to run code.
In 2019, after quite a bit of work, I launched the Minstrel 3. That added the 'slow' mode, but also deviated from the original design quite a bit to make a more modern interpretation of the ZX81 design, less reliant on analogue properties of digital chips than the ZX80 design, and added 32K of RAM set up to work with high resolution graphics.
The board was still in the ZX81 form factor, and was now an ideal replacement for a dead ZX81 or simply to preserve a working one and replace it with one with extra RAM and composite video output.
As well as the ZX81 case option, the Minstrel now had it's own keyboard, and a keyboard overlay PCB with all the keywords and graphics characters marked on.
That made a nice standalone system built with all modern parts, but was still compatible with the ZX81 and could run all the software a fully expanded ZX81 could.
To make all that software easier to load, I produced a special version of Charlie Robson's ZXpand, with only the bits necessary to make it work on the Minstrel 2 or 3.
You can fit an edge connector, but I think it makes a more stable and better looking system if soldered on using a pin header.
The next in the series was the Minstrel 4th. This followed similar principles to the previous Minstrels, Z80 based, ZX81 shaped, all the upgrades, all modern chips. But this one was based loosely on the Jupiter Ace, and can run Forth and Jupiter Ace software.
This one also added an RC2014 expansion bus (which is why it went blue again). The way the video circuitry is isolated in this design leaves the Z80, ROM and RAM running full time, unlike the ZX80 and ZX81 based designs that rely on the Z80 to run NOP instructions for most of the time whilst clocking through the video RAM. I had looked at adding this bus to the Minstrel 3, but most of the add ons would not have been usable.
The Minstrel 4th can also be ZX81 shaped and fit into a ZX81 case, but again works best stand alone with it's own keyboard. This is almost the same as the ZX81 style used on the Minstrel 2 and 3, but the button row of keys is arranged differently, so it has a separate keyboard PCB.
There used to be lots of options on my Tindie store, you could chose what type of keyboard connector, the voltage regulator, some or all IC sockets etc. and it got a bit complicated. Sometimes people would ask me what options to choose, other times it looked like they had picked them at random.
To simplify things, the Minstrel 2, 3 and 4th all have a similar set of options. You can order a kit of bits required to make the version which will fit in the ZX81 case, or you can order a standalone version with or without keyboard, and on the 2 and 3 with a ZXpand. Hopefully that should simplify things.
To make things easier to assemble, and stronger as stand alone systems, I have now merged the PCBs for the Minstrel 3 and it's keyboard to make a single board for the Minstrel 3 + Keyboard option.
I have also moved all the PCB only options to a separate listing (that makes the postage options easier as well as previously people could choose the 'put it in a card backed envelope with a stamp on it' when they had ordered a full kit with power supply etc.). I will also be adding PCBs from other things which are not available as kits to this same listing.
Also split out is the 'Partial kit' option, which includes the PCB and the difficult to find and pre-programmed parts.
So those are the Minstrels and the new options. You can order a Minstrel 2, Minstrel 3 or Minstrel 4th from My Tindie Store. If you have any more questions, let me know (as long as it's not the one about why it's called a Minstrel)*.


*Oh OK, why did I call it the Minstrel? Well, there was a ZX Spectrum clone called the Harlequin, and a Minstrel is a similar sort of medieval court jester type thing, but whereas the Harlequin is usually very colourful (like a Spectrum), the Minstrel is more black and white....

2024 Update: Minstrel kits are available from my Sell My Retro store - http://blog.tynemouthsoftware.co.uk/2023/09/minstrel-and-mini-pet-kit-updates.html